
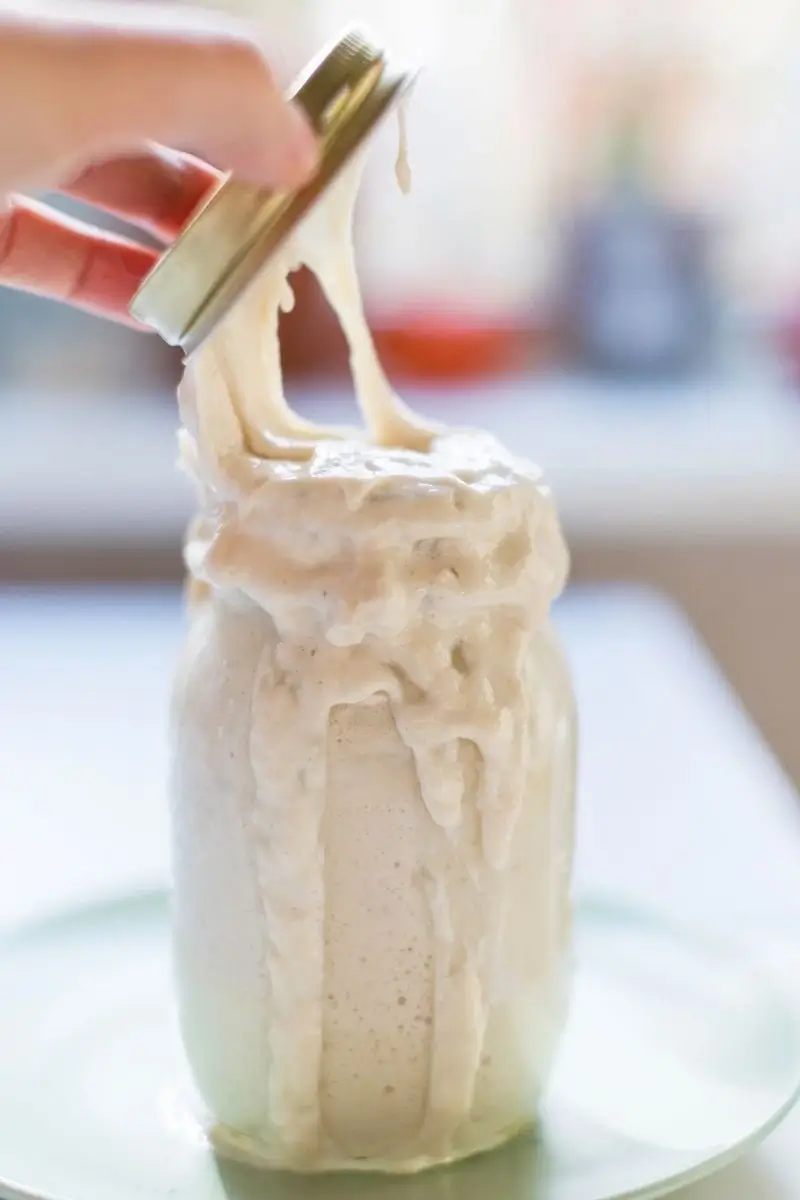
Have you been feeding your sourdough starter and nothing seems to happen? Maybe it’s flat, sluggish, or smells a little off. You’re not alone! Many beginner bakers face this challenge.
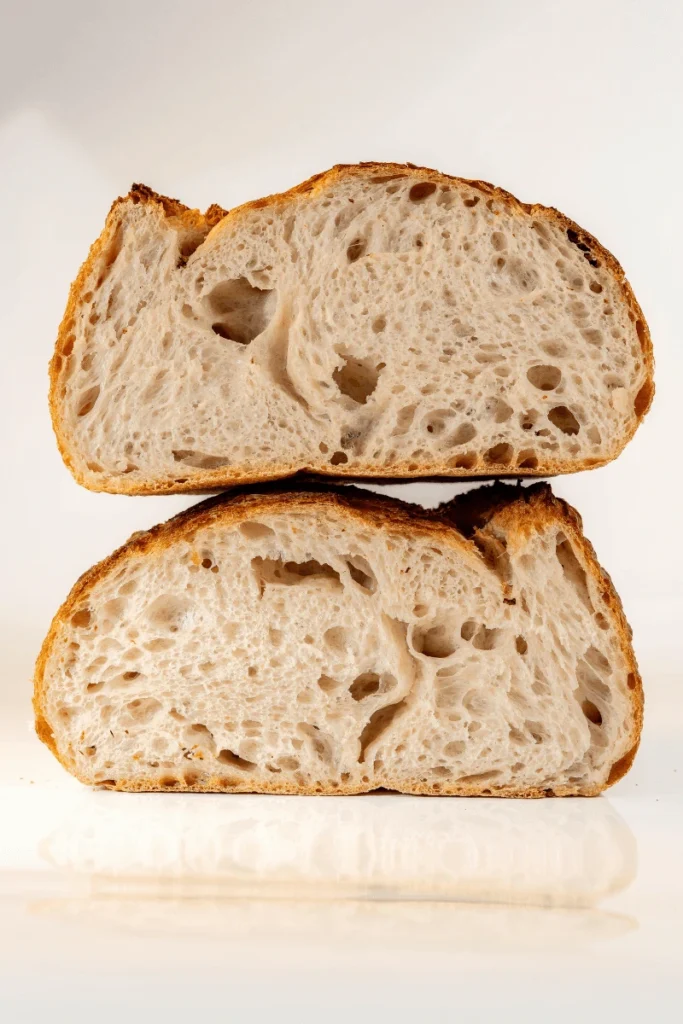
The good news? Most weak or inactive starters can be revived with a little care and patience. In this post, I’ll show you how to fix a sourdough starter that isn’t rising and share simple tips to keep your starter strong, active, and ready for baking.
Let’s save your starter—and your sourdough dreams!
This post may contain affiliate or sponsored content.
Pin for later:

Common Signs Your Sourdough Starter Isn’t Healthy
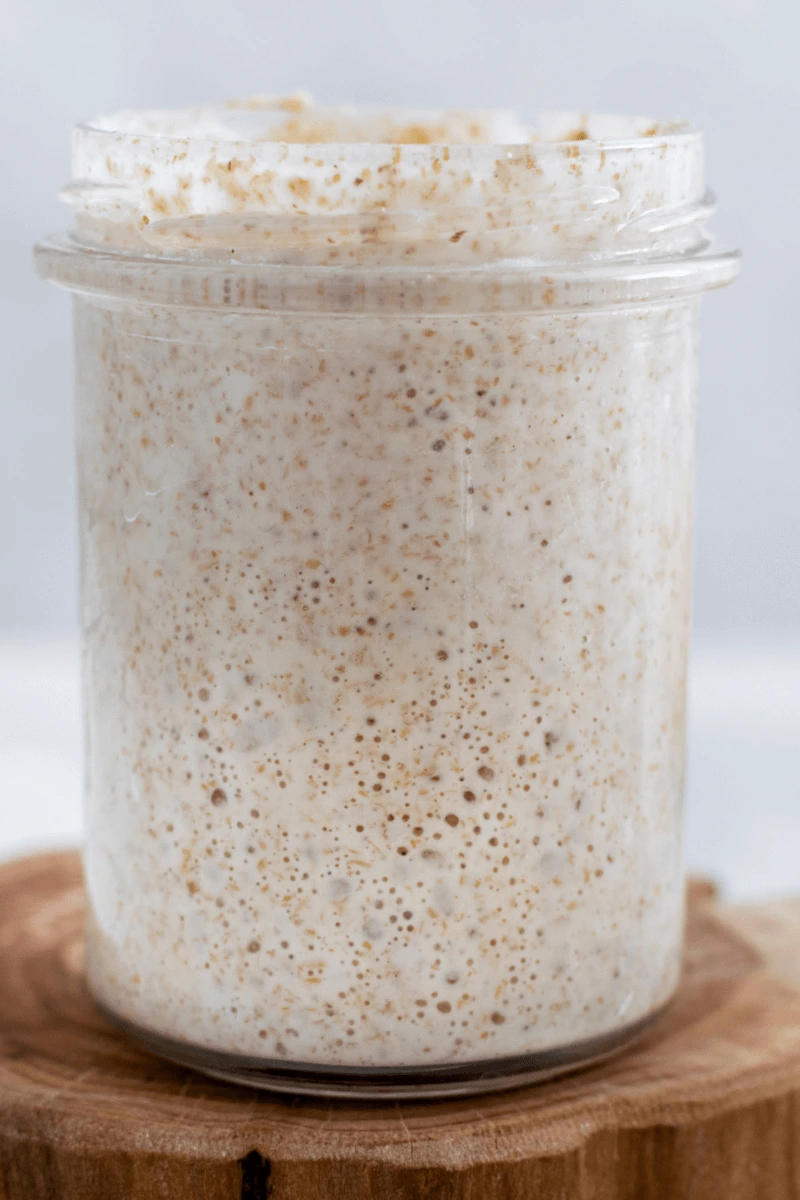
If your starter isn’t bubbly, rising, or smells funky, it might just need extra care. Look for these warning signs:
- Not rising or doubling in size after feeding
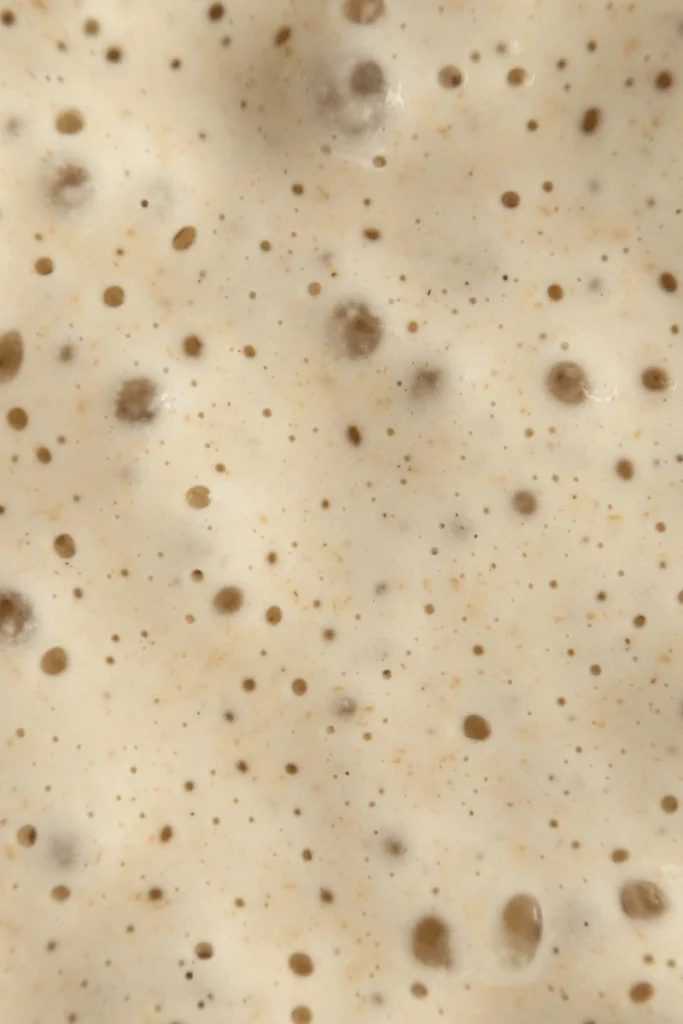
- Very few or no bubbles
- A dark liquid (hooch) forming on top
- Smells like dirty socks, cheese, or something rotten
- Texture is too runny or too thick
If this sounds familiar, don’t throw it away! Most starters can be revived with the right steps.
How to Revive a Weak or Inactive Sourdough Starter
Here’s a step-by-step guide to fix a sourdough starter that isn’t rising:
1. Feed Your Starter More Often
If your starter isn’t active, try feeding it twice a day for a few days instead of once.
- Discard most of the starter, leaving about 1 tablespoon.
- Feed with 75% flour and 25% water.
- Example: 50g starter + 75g flour + 25g water.
2. Switch to Whole Wheat or Rye Flour
Whole grain flours like whole wheat or rye are packed with wild yeast and beneficial bacteria. Using them can help your starter wake up faster.
Once healthy, you can switch back to all-purpose flour.
3. Keep Your Starter Warm
Sourdough starters thrive in warmth. Aim for around 75°F (24°C).
Try placing your jar:
- In the oven with the light on (oven off!)
- On top of the fridge
- Near a warm window (out of direct sunlight)
- Next to a wood stove or warm appliance
Cold kitchens slow fermentation, making your starter look inactive.
4. Use Lukewarm Water
Cold water slows fermentation. Using warm water (75–85°F / 24–29°C) gives the yeast and bacteria a cozy environment to grow.
- Avoid hot water—it can kill the good microbes.
- Water should feel warm but not hot, like a comfortable bath.
Switching to warm water can make a noticeable difference in how quickly your starter rises and bubbles.
5. Always Discard Before Feeding
If you don’t discard, you’re just adding flour and water to an already weak starter.
- Keep your starter small and fresh.
- Discard most, feed a little at a time until it’s bubbly and active again.
Long-Term Sourdough Starter Care
Once your starter is healthy, follow these tips to keep it strong and ready for baking:
- Feed daily if stored on the counter
- Store in the fridge and feed once a week if you bake less often
- Use the float test: drop a spoonful into water—if it floats, it’s ready to bake!
For more details, check out my Sourdough Starter Maintenance Guide.
Common Questions About Sourdough Starters
What is hooch?
Hooch is the dark liquid on top, a sign your starter is hungry. Pour it off or stir it in, then feed.
My starter smells like vinegar or nail polish. Is it bad?
Nope! That means it’s hungry or unbalanced. Feed it more often to restore its strength.
Can I change flours?
Yes! Your starter can adapt. Switch gradually or mix types.
Should I start over if it’s not working?
Usually not. Revive a small scoop with fresh flour and water—it often comes back stronger than before.
Sourdough Starter Health Checklist
Keep this handy to ensure your starter is thriving:
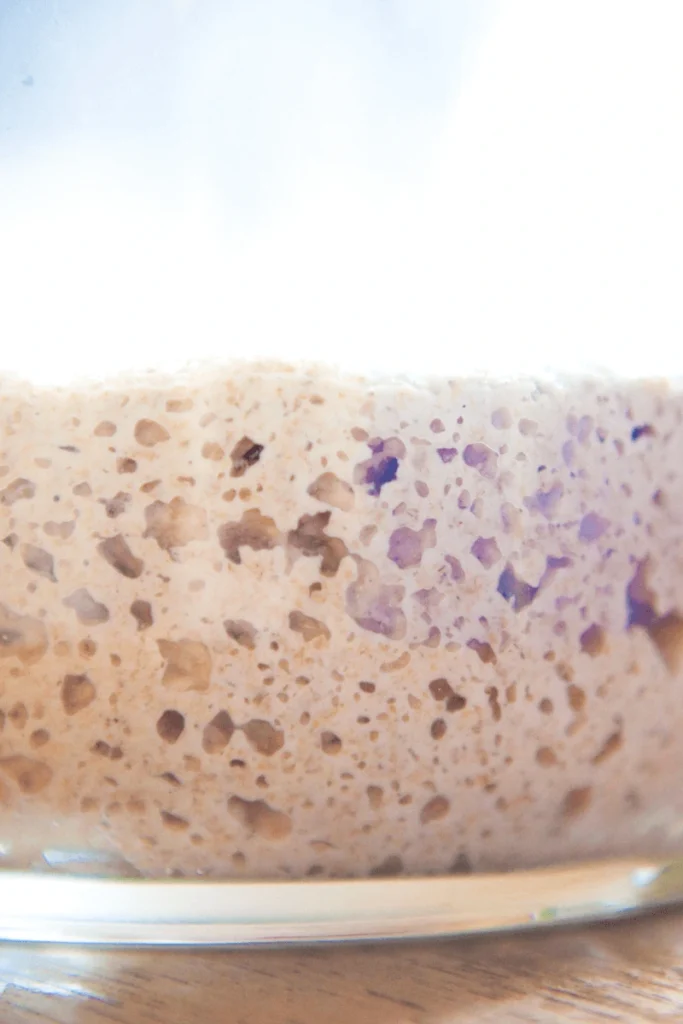
- Doubles in size within 4–6 hours after feeding
- Pleasant, tangy smell (not stinky)
- Full of bubbles, not flat or separated
- Thick, pancake-batter consistency
- Passes the float test before baking
Step-by-Step Routine to Revive a Weak Starter
If your starter looks sad and lifeless, this routine can bring it back in just a few days:
You’ll need:
- A clean jar
- Whole wheat or rye flour
- Lukewarm water (not hot!)
- Kitchen scale (optional)
Daily Routine (Morning & Evening):
- Discard most of the starter, leaving 1 tablespoon.
- Feed with 75g flour + 25g lukewarm water.
- Mix until smooth, like thick pancake batter.
- Keep warm (around 75°F / 24°C).
- Repeat for 3–5 days.
You’ll start to notice:
- Bubbles forming
- Cleaner, tangy smell
- Faster and higher rise after feeding
Ready to bake?
- Doubles in 4–6 hours
- Pleasantly sour smell
- Full of bubbles
- Passes the float test
Pro Tip: Use your discard for quick recipes like pancakes, crackers, or muffins—no waste, and delicious!
Let’s Chat!
Have questions about your sourdough starter? I’d love to help!
Leave a comment below or tag me on Instagram @shakanranch with your sourdough stories and photos. I’ve been through it too, and I’m here to cheer you on.
If this post helped you, feel free to share it with a fellow sourdough lover. And don’t forget to subscribe to my YouTube channel for more simple sourdough tips and recipes.
Happy baking!
- WP Recipe Maker #6999remove
 How to Revive a Weak Sourdough Starter If your starter looks sad and lifeless, don’t worry—this gentle routine can bring it back to life in just a few days. Stick with it, and you’ll see bubbles, rise, and that tangy smell again soon! – A clean jar – Whole wheat or rye flour (for extra strength) – Lukewarm water (not hot!) – Kitchen scale (optional, but makes things easier) 1) Daily Routine (Do this morning and evening) 2) Discard Most of Your Starter: Scoop out and throw away all but 1 tablespoon of your starter. This gives the new feeding room to grow and keeps your starter fresh. 3) Feed It 75g whole wheat or rye flour, 25g lukewarm water. 4) Mix it well until it’s smooth and thick, like a thick pancake batter. 5) Keep It Warm. 6) Keep Going for 3–5 Days Your starter loves warmth. Aim for about 75°F (24°C). Try these spots: Inside the oven with the light on (oven off!) On top of the fridge Near a warm appliance or wrapped in a towel Feed your starter this way twice a day. You should start to notice:• Bubbles forming• A cleaner, sour smell• It rises higher and faster after feeding When It’s Ready to Bake: Look for these signs:• Doubles in size within 4–6 hours of feeding• Smells pleasantly sour (like yogurt or fruit)• Full of bubbles• Passes the float test (a spoonful floats in water) Pro Tip: While reviving your starter, use the discard to make quick recipes like pancakes, crackers, or muffins—no waste, and super tasty!


Leave a Reply