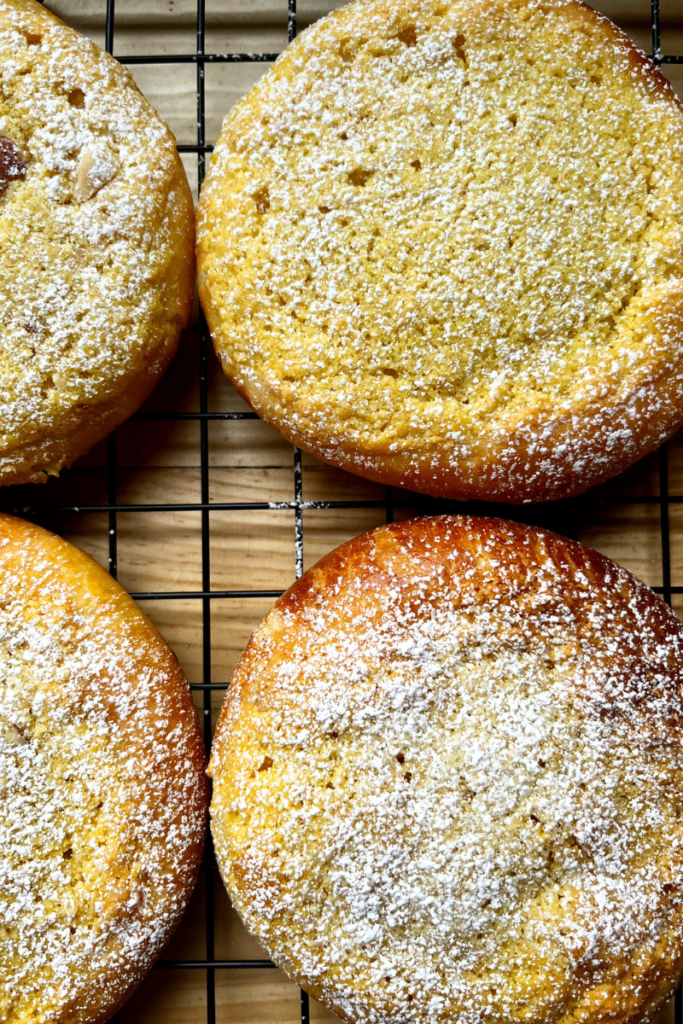
Sourdough Almond Brioche Buns are a tangy goodness of sourdough and the rich, nutty flavor of almonds. These buns have a soft and airy texture, with an almond filling thats ideal for breakfast, brunch, or even dessert. They were inspired by my Almond Croissant Recipe.
This post may contain affiliate or sponsored content.
Similar posts you might like:
- Sourdough Nutella Babka
- Sourdough Cinnamon Star
- Easy Sourdough Cinnamon Rolls – Eggless Recipe
- Sourdough Lemon Almond Poppyseed Cake
Tools you might need:
- Kitchen aid mixer
- Dough hook
- Rolling pin
- Pastry brush
- Cooling rack
- Baking sheet
- Hand mixer
- Large bowl
Ingredients:
Sourdough Brioche Dough:
- Whole milk: Using the highest fat milk content will ensure the best dough for this brioche recipe.
- Farm fresh eggs: Farm fresh eggs will give your brioche buns that golden glow.
- Sugar: Use organic cane sugar for that slight sweetness to the dough.
- Salt: Any type of salt will work, I love using Mediterranean Sea Salt. Salt will enhance flavor to the buns.
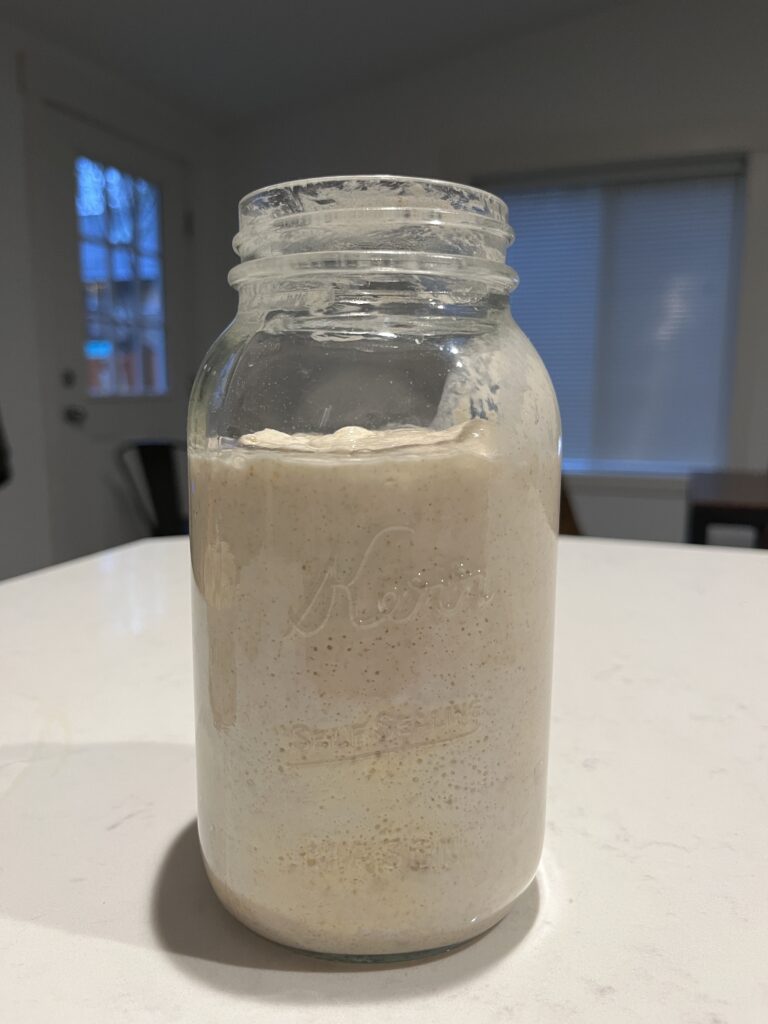
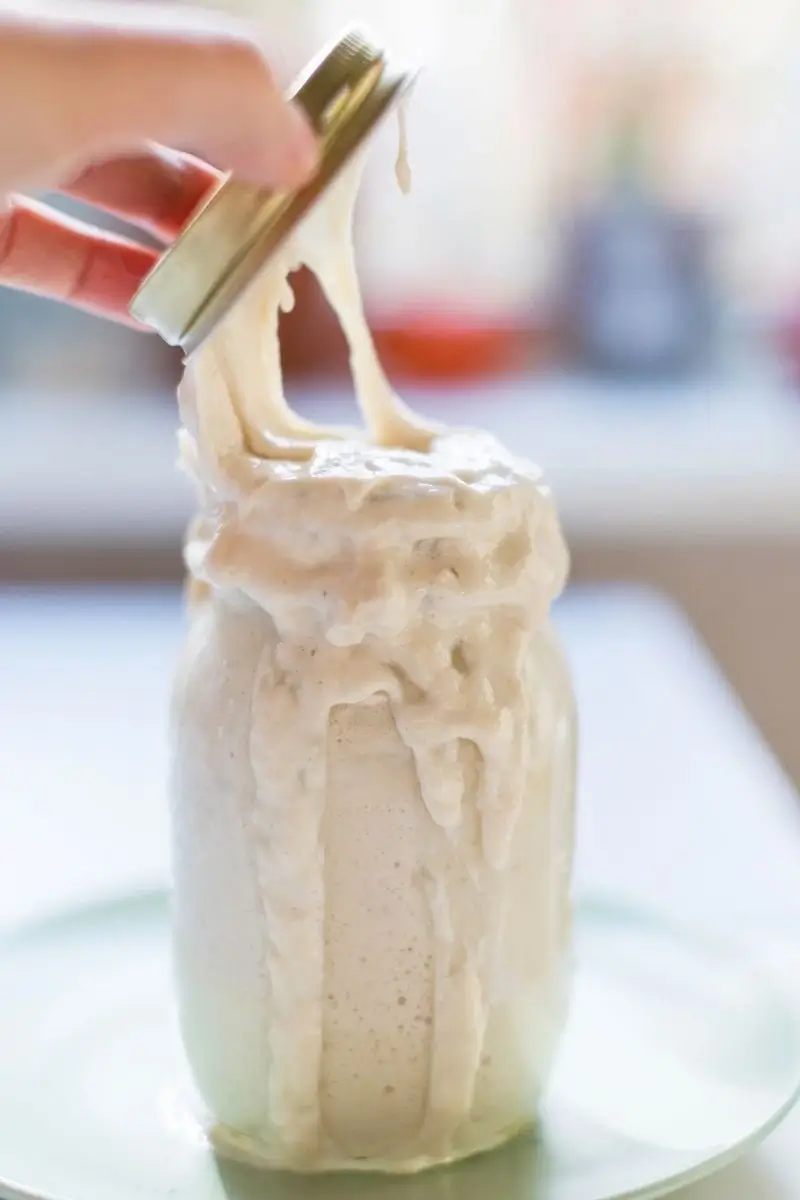
- Starter: Make sure your sourdough starter has been feed 4-6 hours before using it to ensure it’s ripe and ready to make buns.
- Bread flour: You will need strong bread flour for this recipe to create the most satisfying brioche dough. I recommend King Arthur Bread Flour.
- Butter: Unsalted butter is recommended. Butter makes the dough ultra tender and flakey. Room temperature butter will be easier to incorporate into the dough.
Almond Filling:
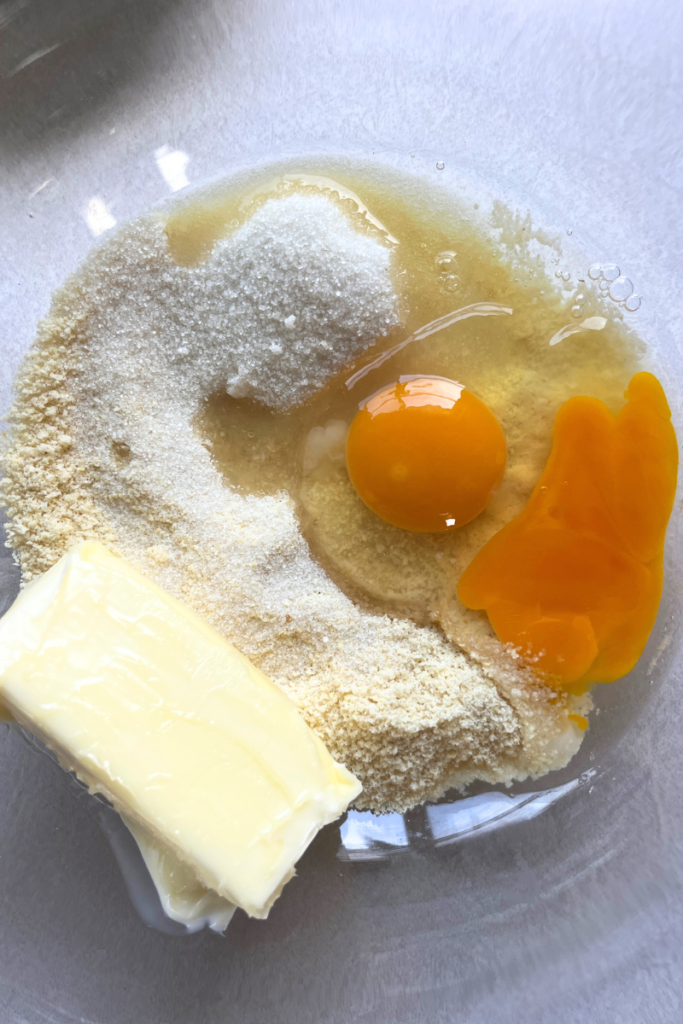
- Almond flour: You can use fine almond meal or almond flour. This will give you the perfect filling a rich nutty flavor of almonds.
- Farm fresh eggs: Eggs make the texture of the filling rich and smooth creating a creamy consistency.
- Sugar: Organic cane sugar adds a subtle sweetness to the filling.
- Butter: Unsalted butter is used for the filling to create the velvety perfection.
How to make Sourdough Almond Brioche Buns:
Feed your starter:
- Make sure you have fed your sourdough starter at least 4-6 hours before using it, or the night before.
- Mix 1 cup bread flour, 3/4 cup water, and 1/2 cup starter. Stir vigorously, making sure all of the flour has been hydrated.
- Leave the starter on top of your fridge overnight or until it has doubled (4-6 hours). This depends on how warm your house is. The warmer your house, the faster it will rise and double.

Make the dough:
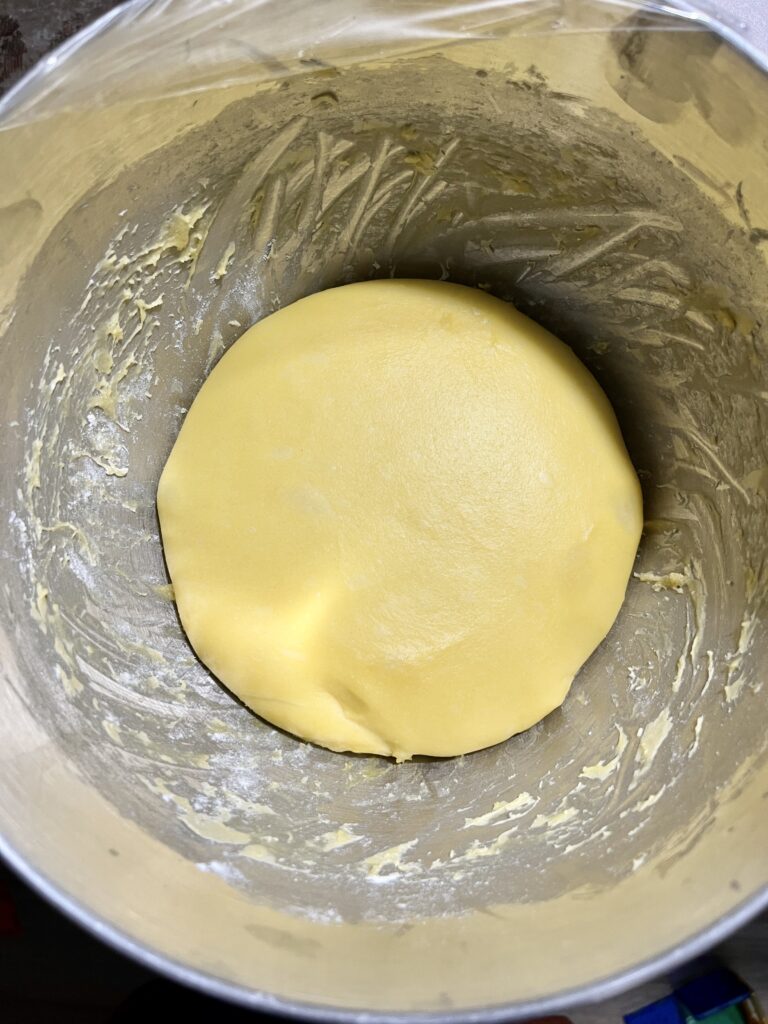
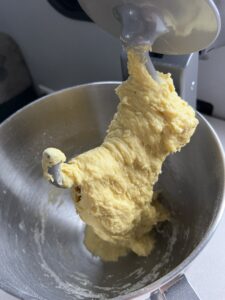
- In a kitchen aid mixer bowl, combine milk, eggs, sugar, salt, starter, and flour. Knead on speed 3 with a dough hook attachment for about 3-5 mins, until well combined.

- Add the butter and knead for 5-7 mins on speed 3.
-
NOTE: **You might be tempted to add more flour, please don’t, it will make your dough tough and not soft and airy. The dough is supposed to be slightly sticky and wet.
-
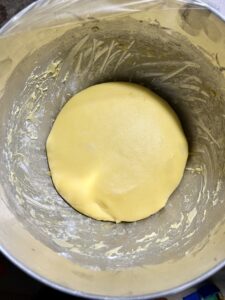
Cover the bowl with a plastic and leave on top of your fridge for 1 hour.

Strengthen the dough:
- In 1 hour, do a set of coil folds to strengthen the dough. Cover with plastic and leave on top of your fridge for another hour.

- After 1 hour, do one more set of coil foils. Leave the dough covered on top of your fridge for 6-8 hours. (or until the evening.)

Fridge proof:
- In the evening: Cover the bowl with plastic wrap and place in the fridge.
Shape the buns:
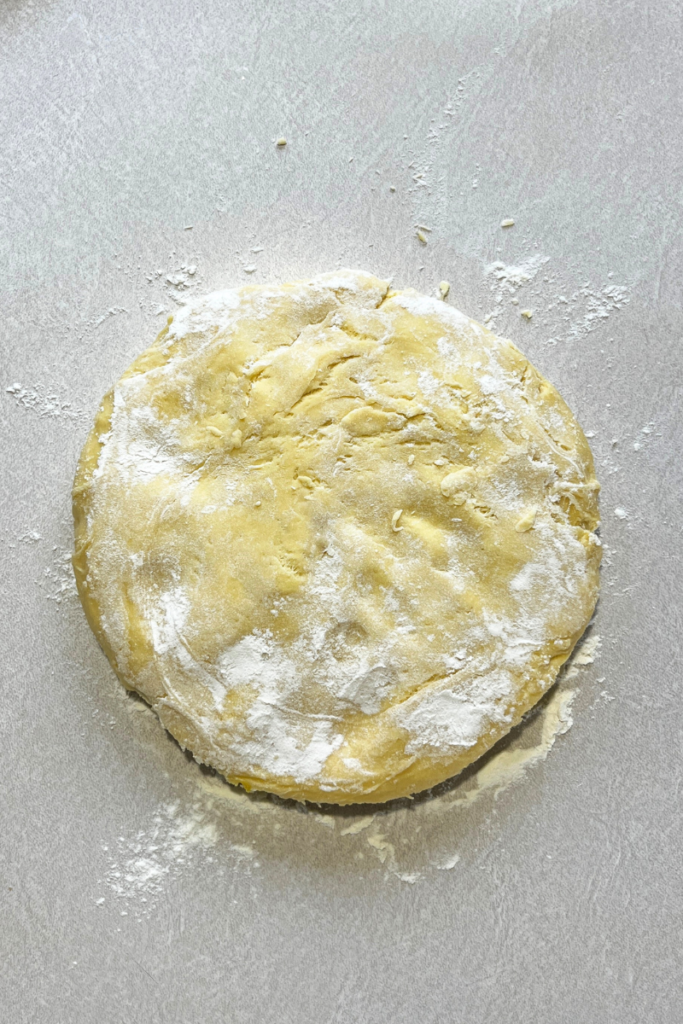
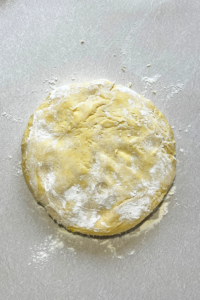
- In the morning: Take the dough out of the fridge and onto a floured counter. Your dough will be firm and easy to work with.
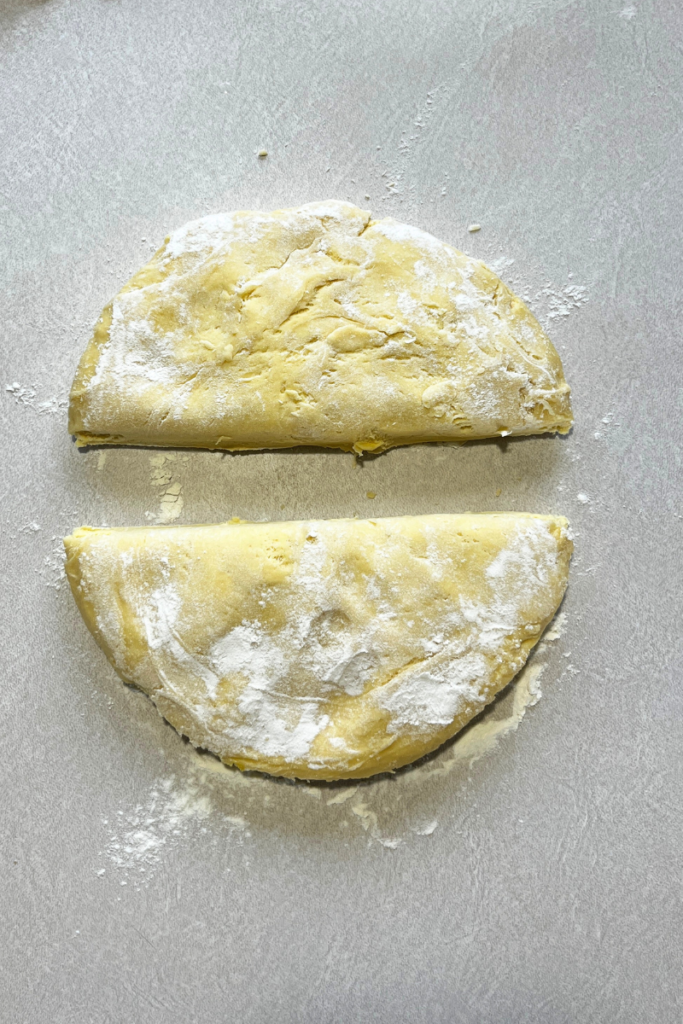
- Divide the dough into 8-10 pieces using a sharp knife or a bench scraper.
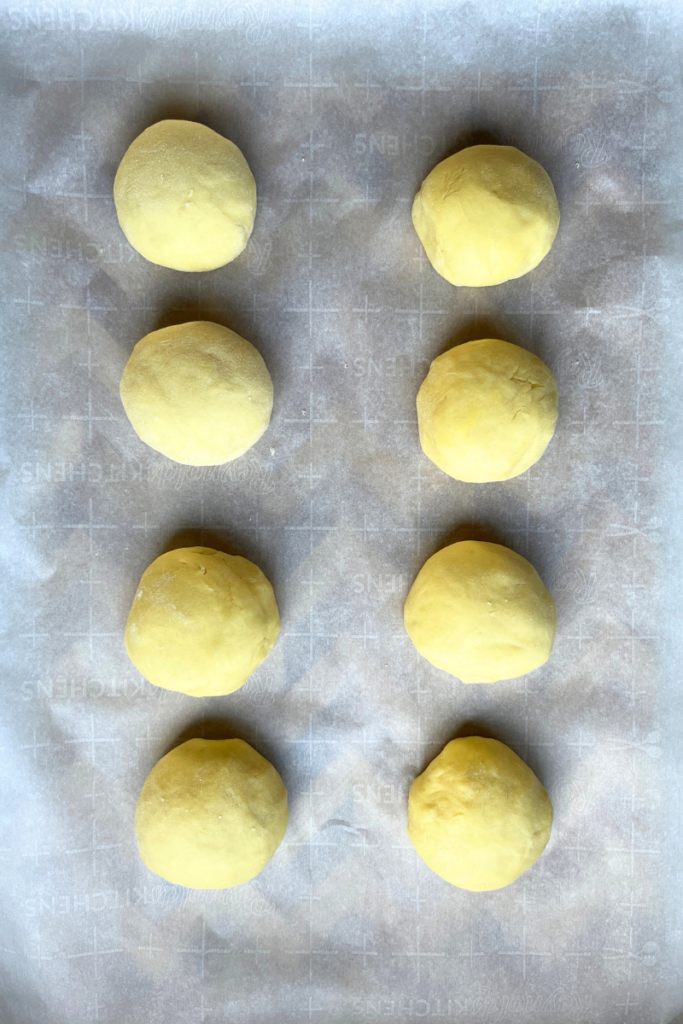
- To shape each portion of dough, fold the edges into the center. Flip it over so that it is seam side down and roll it gently with your hands until it is smooth and round.

- Note: *** Don’t make the balls too big, remember they will still rise and expand the second time and in the oven.
Second rise:
- Place the rolled balls of dough onto a parchment paper and let it rise for about 2 hours.
Make the filling:
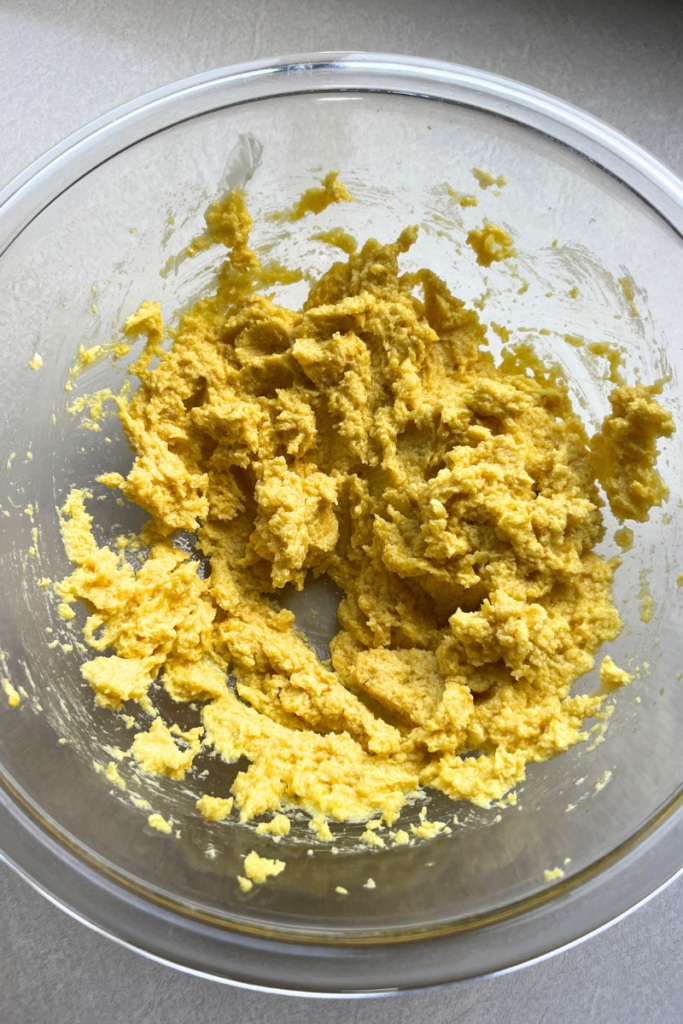
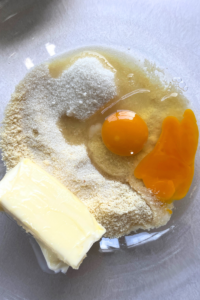
- While the dough balls are resting and rising, make the filling by combining almond flour, eggs, sugar, and butter in a large bowl and mix with a hand mixer.
Fill the buns:
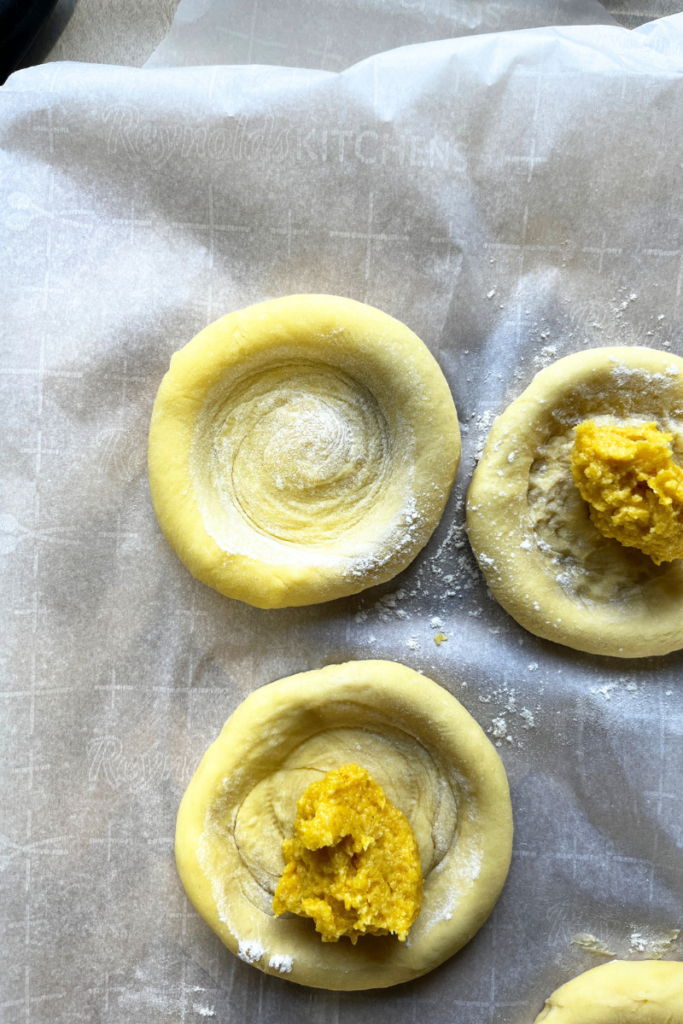
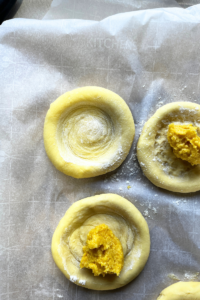
- Using a floured bottom of a jar, press the middle of the dough ball to indent.

- Fill the dough with the almond filling.
- You can also sprinkle some shaved almonds on top.

- Optional egg wash: Mix 1 egg and using a pastry brush, brush the edges with the egg wash right before baking.

Bake the buns:
- Preheat your oven to 350°F(180°C).
- Bake for 25-30 mins, until the edges are golden to your desired liking.

Serve:
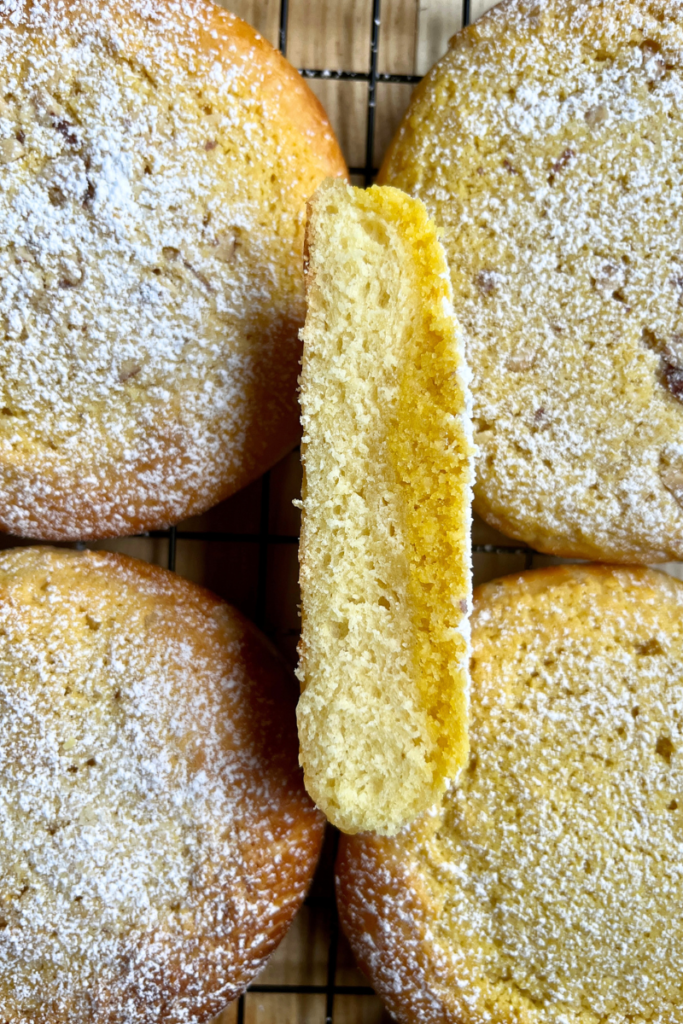
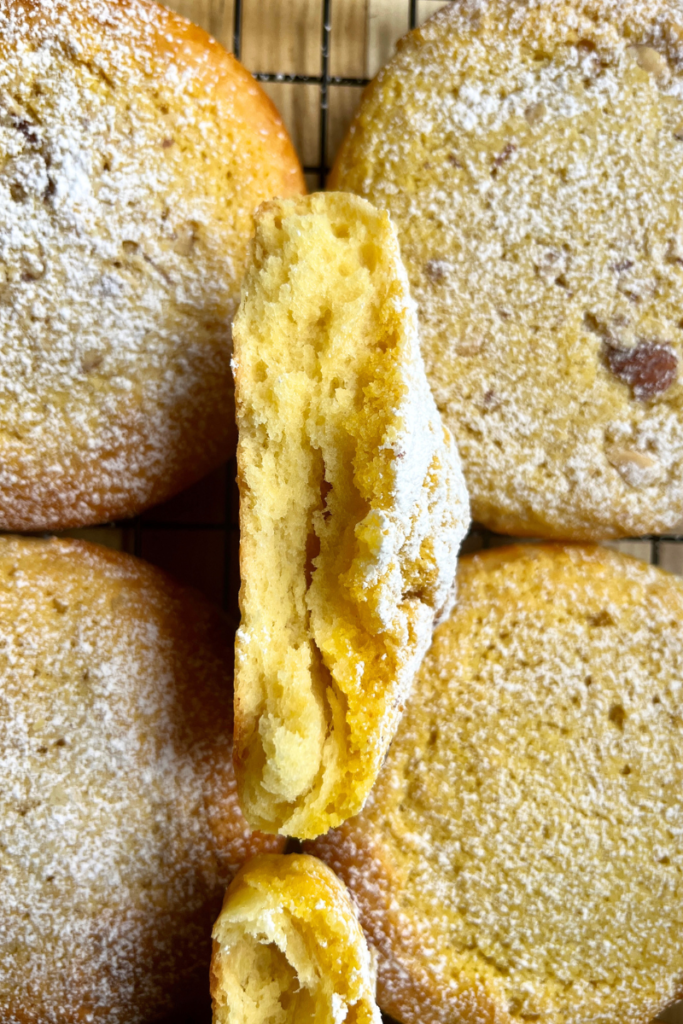
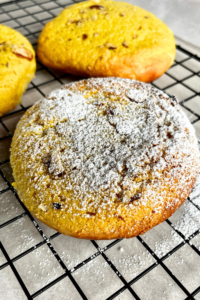
- Once baked and cooled on a cooking rack, dust with powdered sugar and serve.
How to store sourdough almond brioche buns:
Store in an airtight container for up to 2 days in the fridge. After 2 days, it will not be fresh and taste the same.
Sample Bakers Schedule:
8 PM: Feed your sourdough starter.
8 AM : Mix your dough and cover to rise all day.
8 PM: Cover the dough and place into the fridge.
8 AM: Divide and shape the dough.
8:30 AM: Cover for second rise.
9:30 -10 AM: Assemble the buns.
10 AM: Bake.
Sourdough Almond Brioche Buns
Equipment
- Kitchen Aid Mixer
- Dough Hook
- Rolling Pin
- Pastry Brush
- Cooling rack
- Baking sheet
- Hand mixer
- Large bowl
Ingredients
Sourdough Brioche Dough
- 120 g whole milk – room temperature
- 2 farm fresh eggs – room temperature
- 120 g organic cane sugar
- 10 g fine salt
- 100 g active mature starter
- 330 g bread flour
- 1 stick of unsalted butter – room temperature
Almond Filling
- 1 cup almond flour
- 2 eggs
- 1/4 cup sugar
- 8 tbsp 3% buttermilk unsalted
Instructions
Feed your starter:
- Make sure you have fed your sourdough starter at least 4-6 hours before using it, or the night before.

- Mix 1 cup bread flour, 3/4 cup water, and 1/2 cup starter. Stir vigorously, making sure all of the flour has been hydrated.
- Leave the starter on top of your fridge overnight or until it has doubled (4-6 hours). This depends on how warm your house is. The warmer your house, the faster it will rise and double.
Make the dough:
- In a kitchen aid mixer bowl, combine milk, eggs, sugar, salt, starter, and flour. Knead on speed 3 with a dough hook attachment for about 3-5 mins, until well combined.

- Add the butter and knead for 5-7 mins on speed 3.
- NOTE: **You might be tempted to add more flour, please don’t, it will make your dough tough and not soft and airy. The dough is supposed to be slightly sticky and wet.
- Cover the bowl with a plastic and leave on top of your fridge for 1 hour.

Strengthen the dough:
- In 1 hour, do a set of coil folds to strengthen the dough. Cover with plastic and leave on top of your fridge for another hour.
- After 1 hour, do one more set of coil foils. Leave the dough covered on top of your fridge for 6-8 hours. (or until the evening.)
Fridge proof:
- In the evening: Cover the bowl with plastic wrap and place in the fridge.
Shape the buns:
- In the morning: Take the dough out of the fridge and onto a floured counter. Your dough will be firm and easy to work with.

- Divide the dough into 8-10 pieces using a sharp knife or a bench scraper.

- To shape each portion of dough, fold the edges into the center. Flip it over so that it is seam side down and roll it gently with your hands until it is smooth and round.
- Note: *** Don’t make the balls too big, remember they will still rise and expand the second time and in the oven.
Second rise:
- Place the rolled balls of dough onto a parchment paper and let it rise for about 2 hours.
Make the filling:
- While the dough balls are resting and rising, make the filling by combining almond flour, eggs, sugar, and butter in a large bowl and mix with a hand mixer.

Fill the buns:
- Using a floured bottom of a jar, press the middle of the dough ball to indent.

- Fill the dough with the almond filling.
- You can also sprinkle some shaved almonds on top.

- Optional egg wash: Mix 1 egg and using a pastry brush, brush the edges with the egg wash right before baking.

Bake the buns:
- Preheat your oven to 350°F(180°C).
- Bake for 25-30 mins, until the edges are golden to your desired liking.
Serve:
- Once baked and cooled, dust with powdered sugar and serve.

Notes
- NOTE: **You might be tempted to add more flour, please don’t, it will make your dough tough and not soft and airy. The dough is supposed to be slightly sticky and wet.
- Note: *** Don’t make the balls too big, remember they will still rise and expand the second time and in the oven.
Pin this for later:

If you tried this recipe and love it, please come back and give it a review or a comment. Tag me on IG @shakanranch














Leave a Reply