Part 3 for our Streamline trailer renovation.
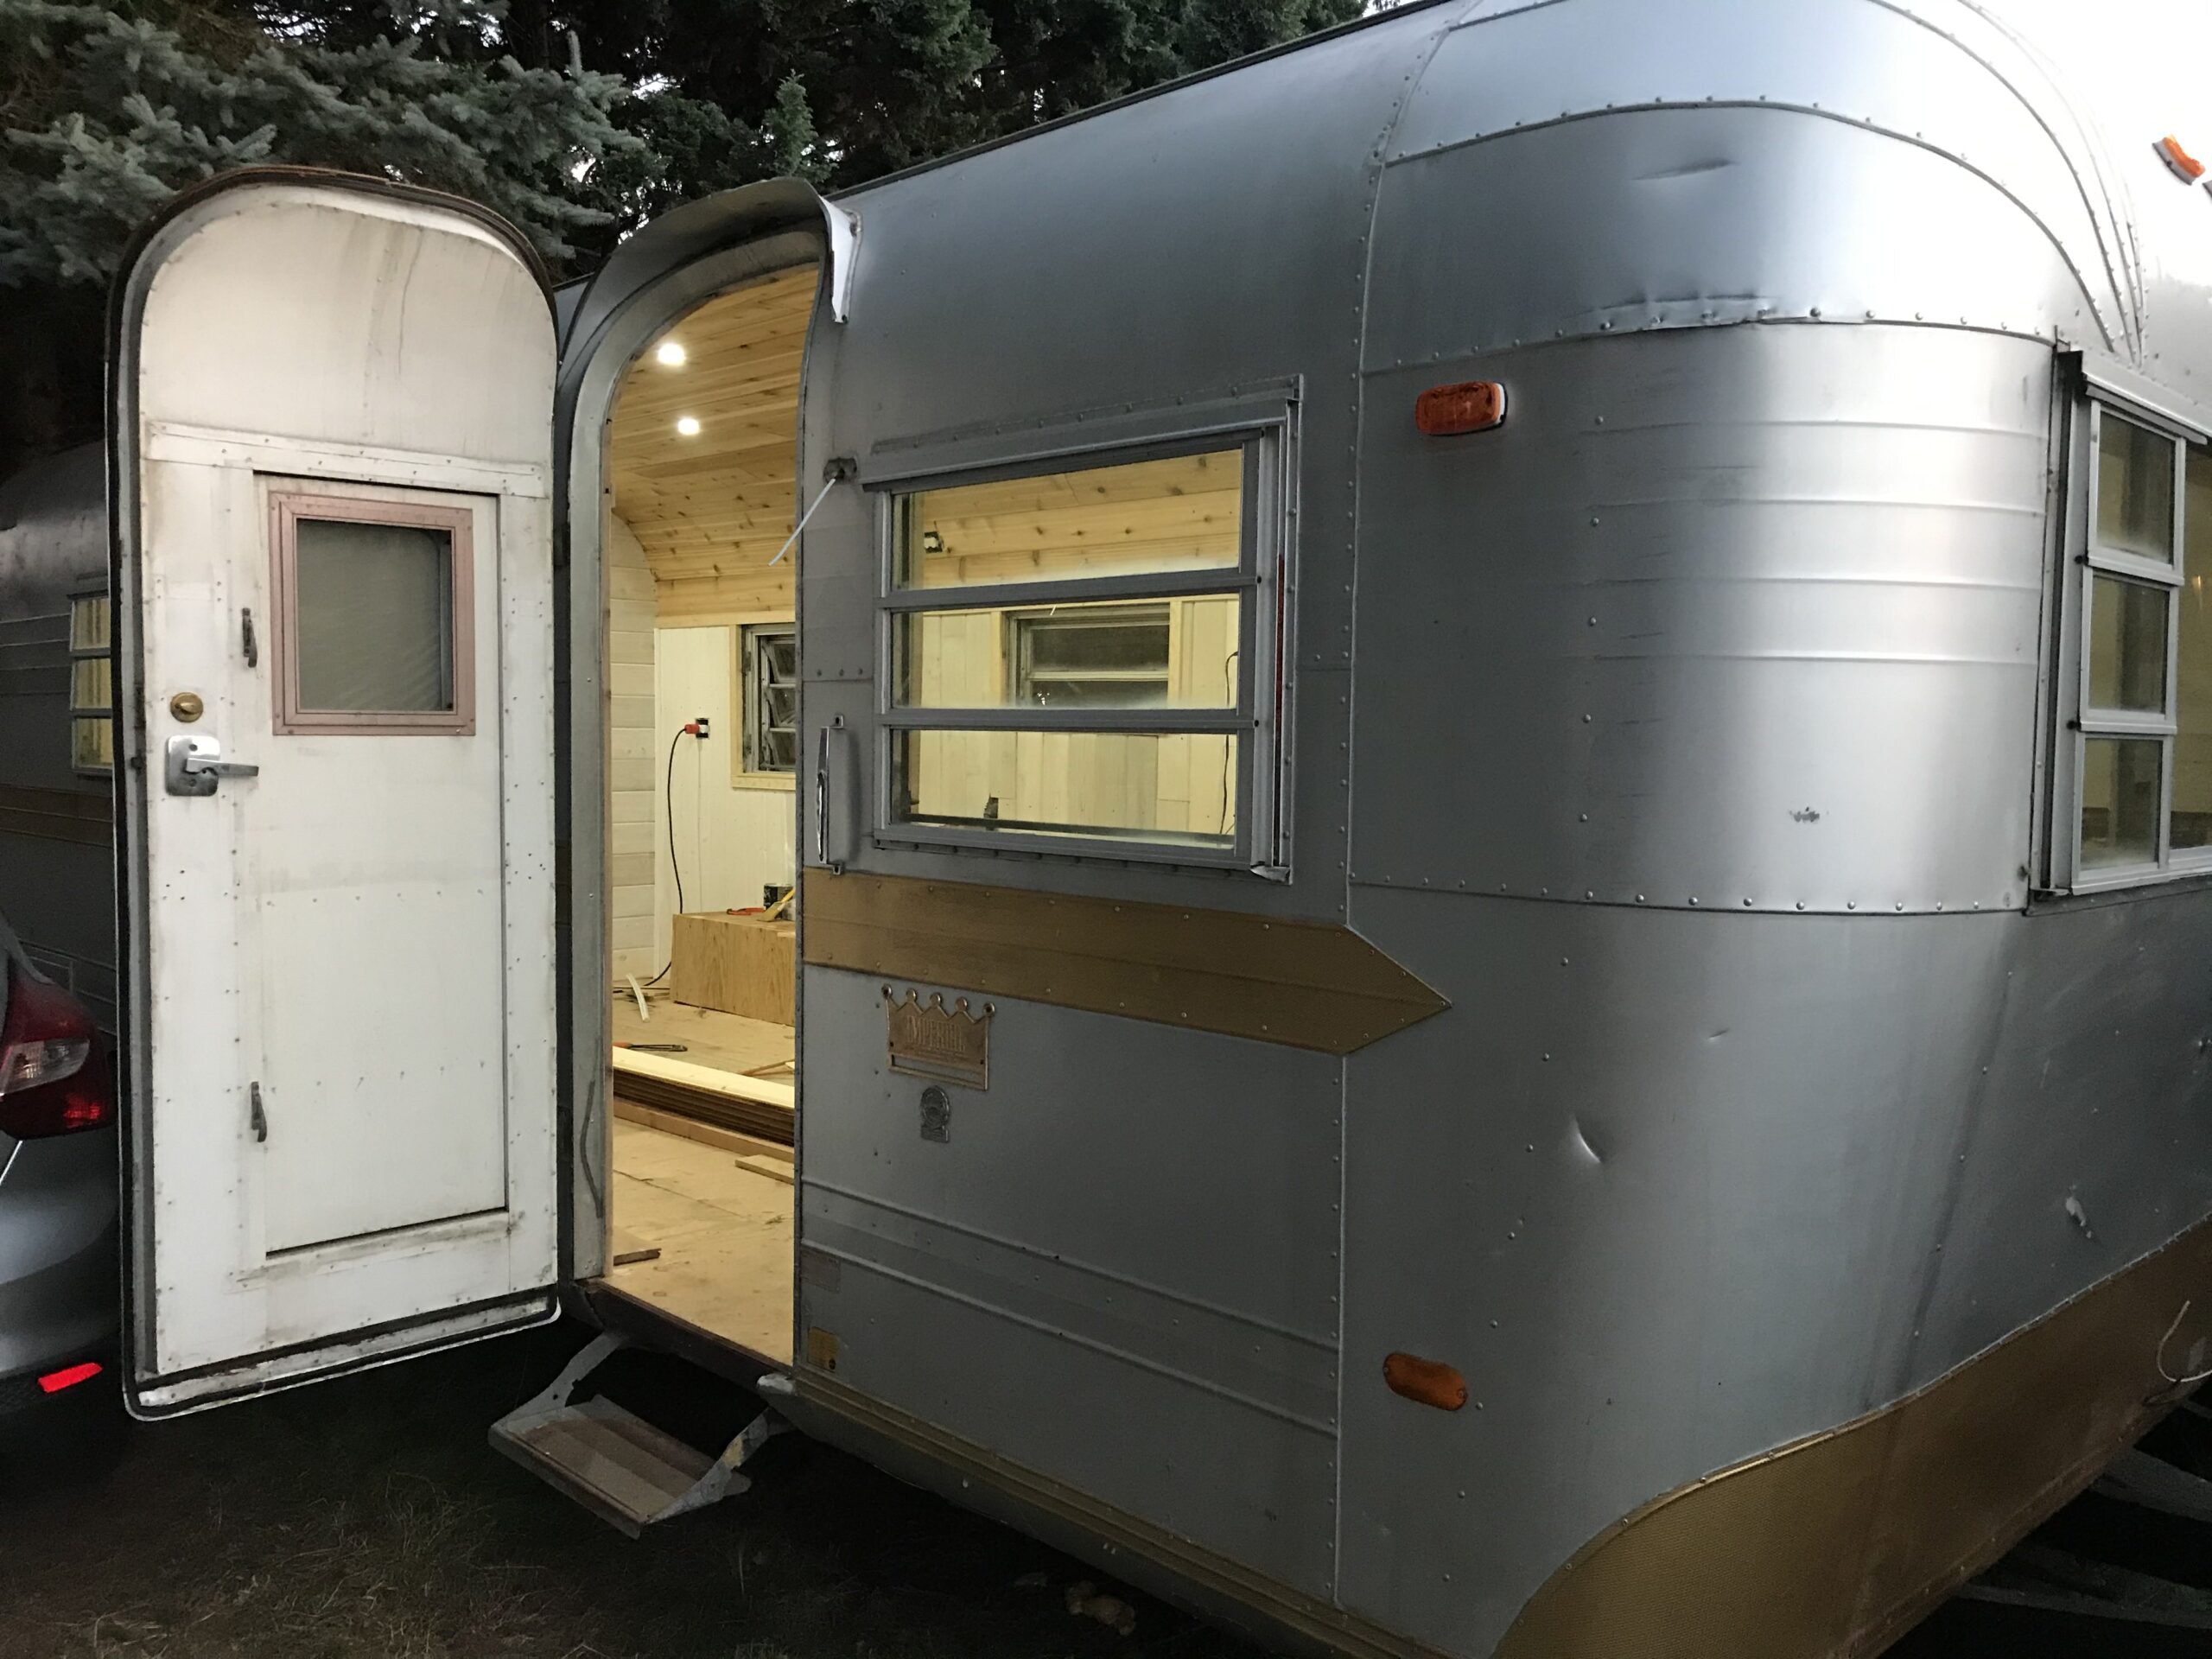
We have finished most of the walls and stained. The ceiling is completed. The lights are in and working. I am so excited with how our streamline renovation is coming along. It’s coming along and finally taking some sort of shape.
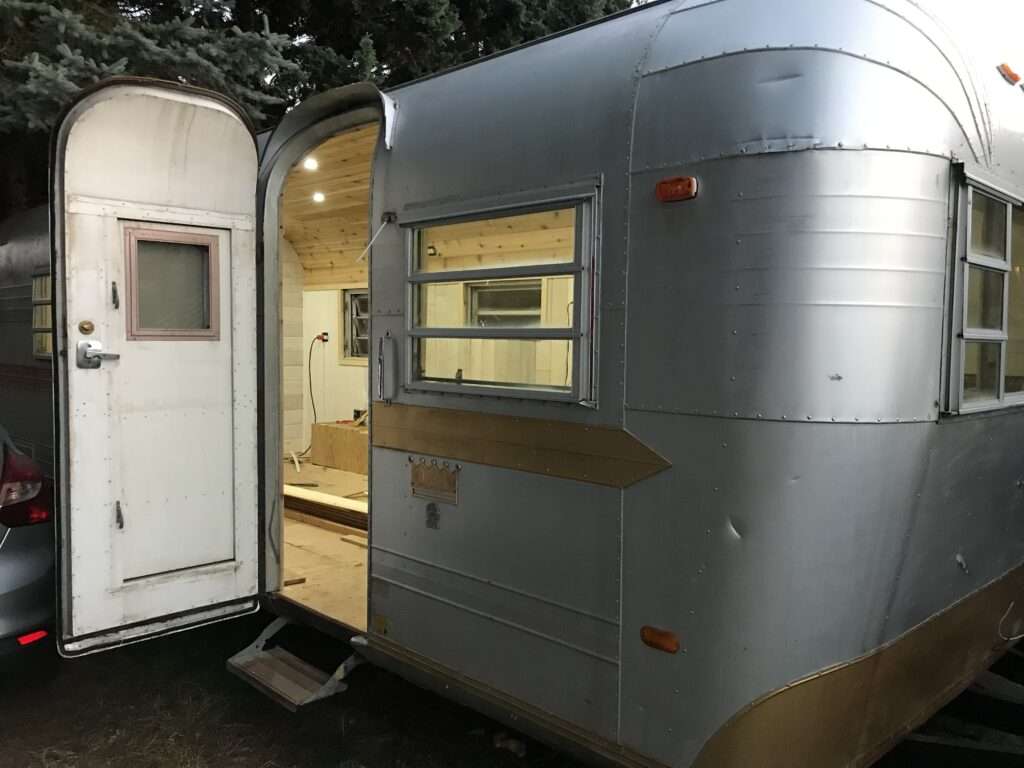
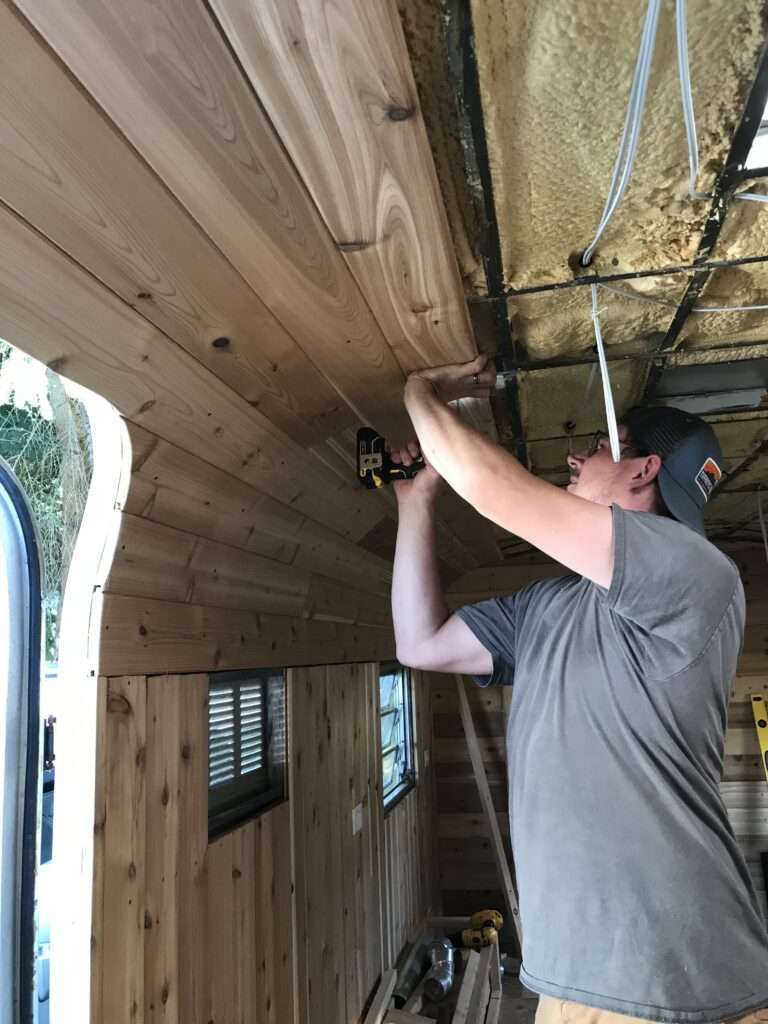
We placed T&G Cedar boards for the ceiling and the walls. It was fairly simple and took about 6 hours to complete just the ceiling.
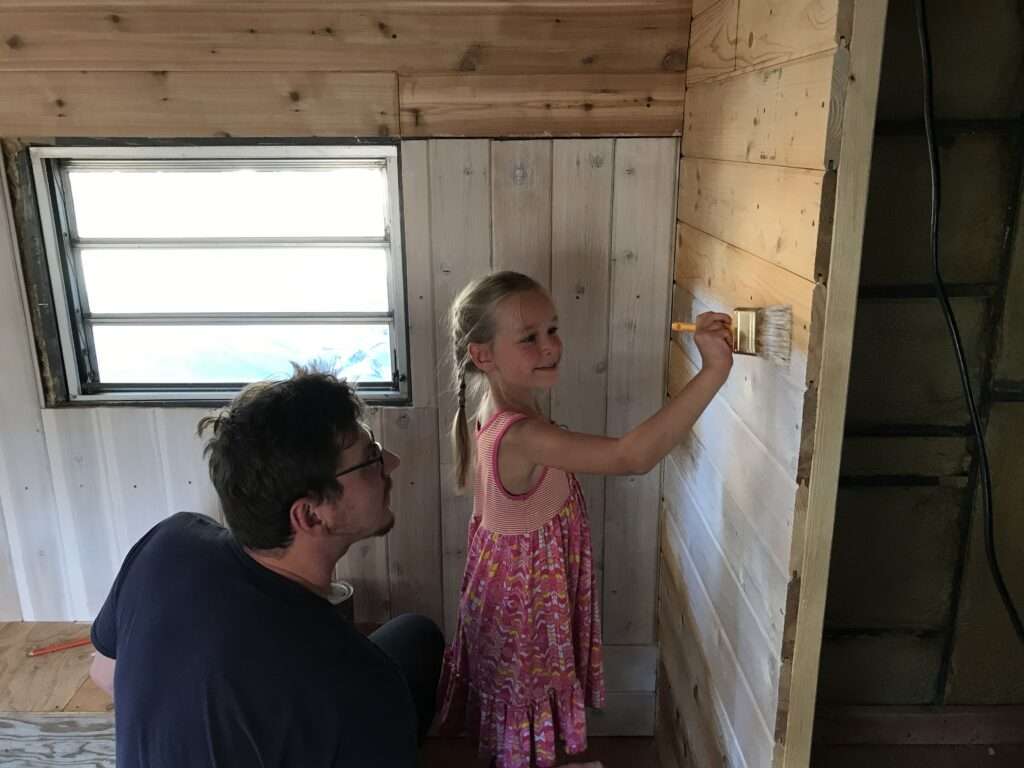
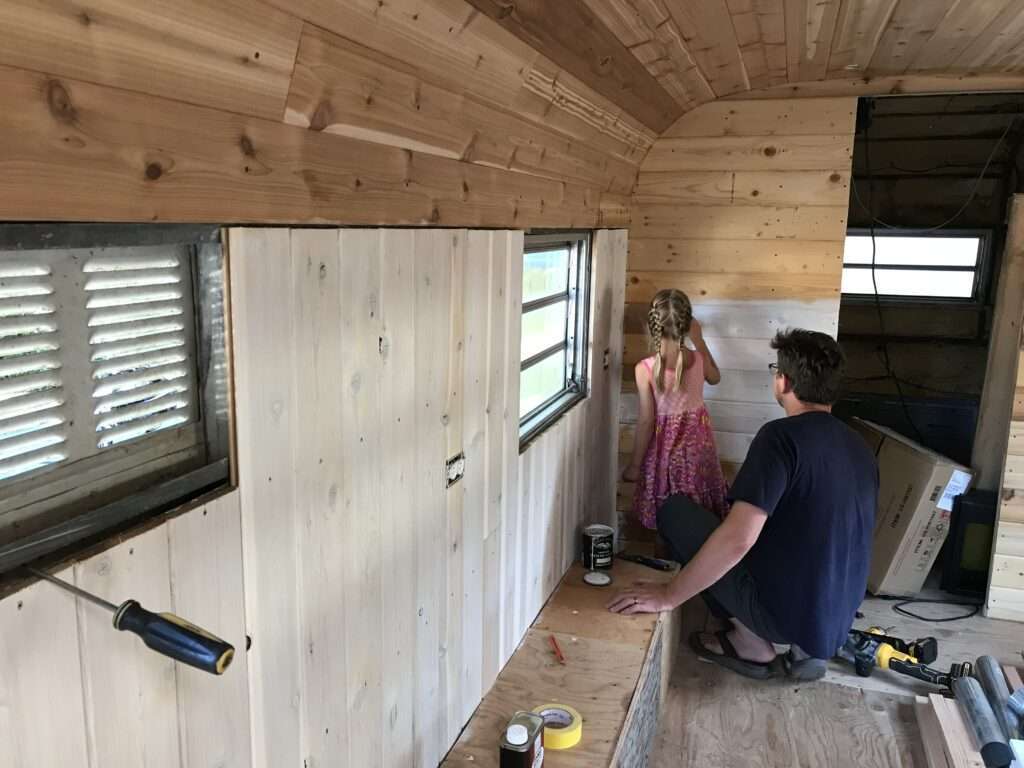
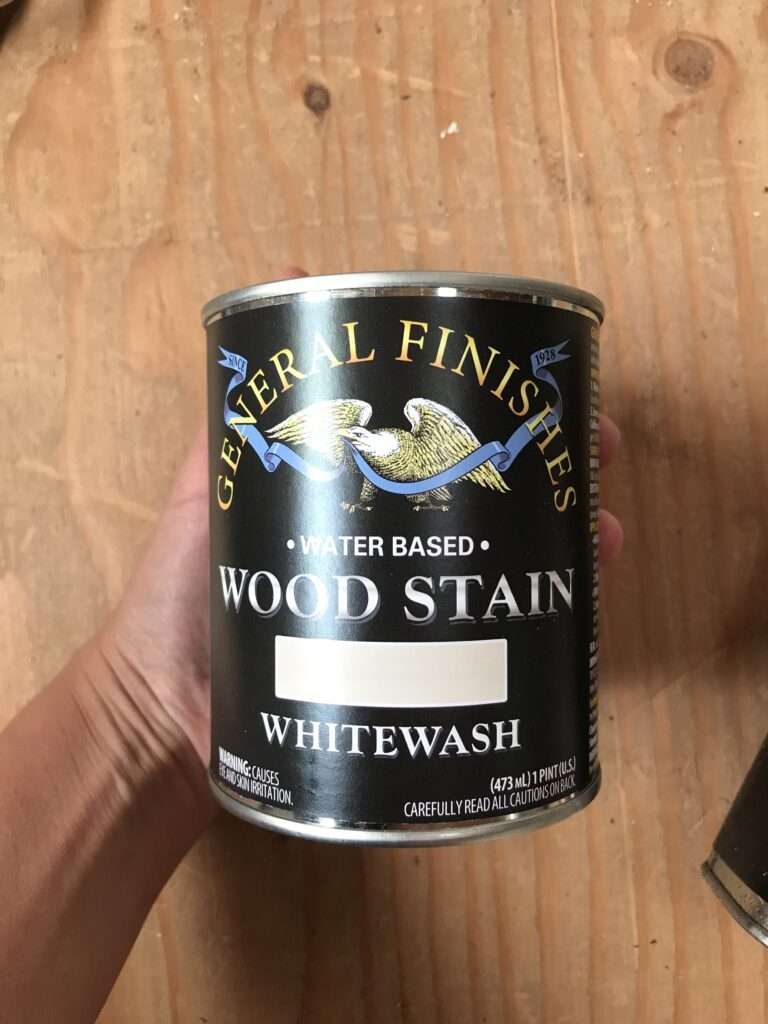
After that we conditioned and stained the walls with water based whitewash wood stain. We loved this stain because you can see the wood under it. We didn’t want to just paint over the wood all white.
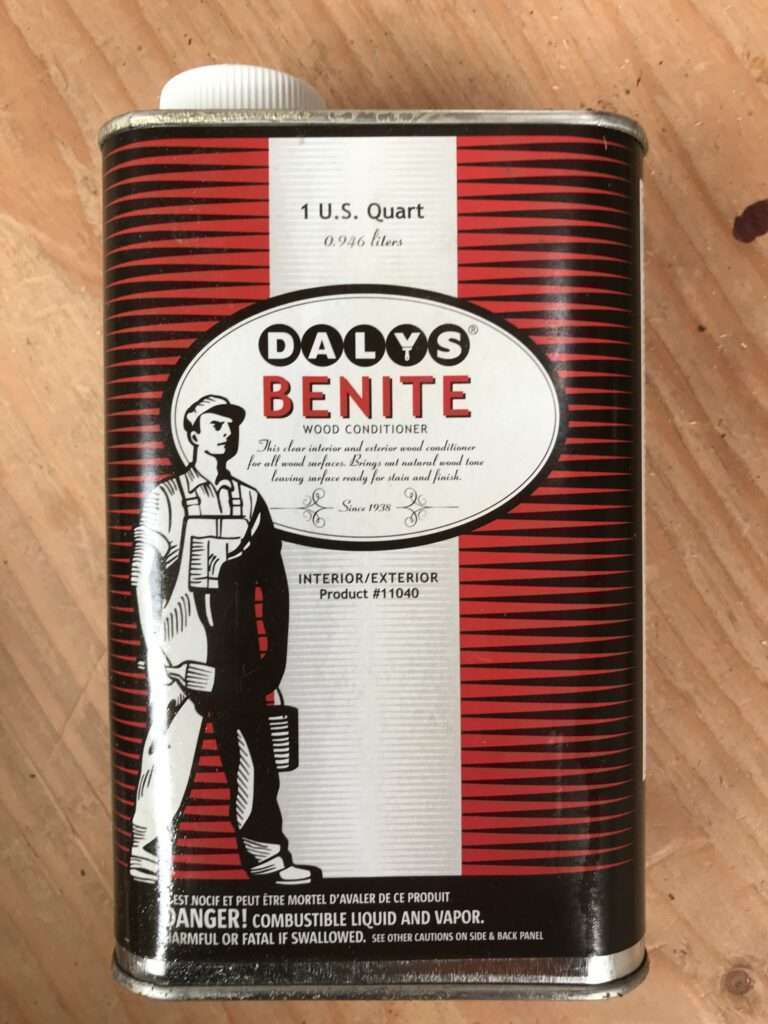
This is the wood conditioner we used. You can find it here.
Staining the walls white, it made the space appear more spacious. You can find this stain here.
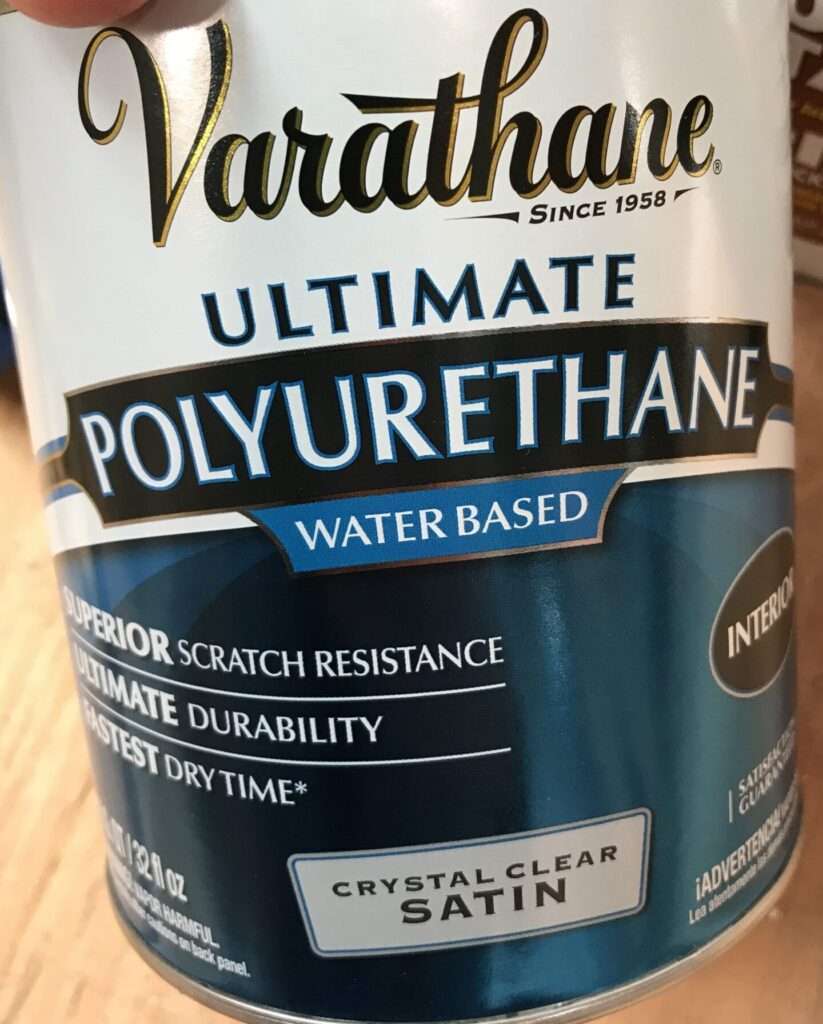
Then we used Varathane Ultimate Polyurethane Water Based Clear Satin to cover all the walls and the ceiling.
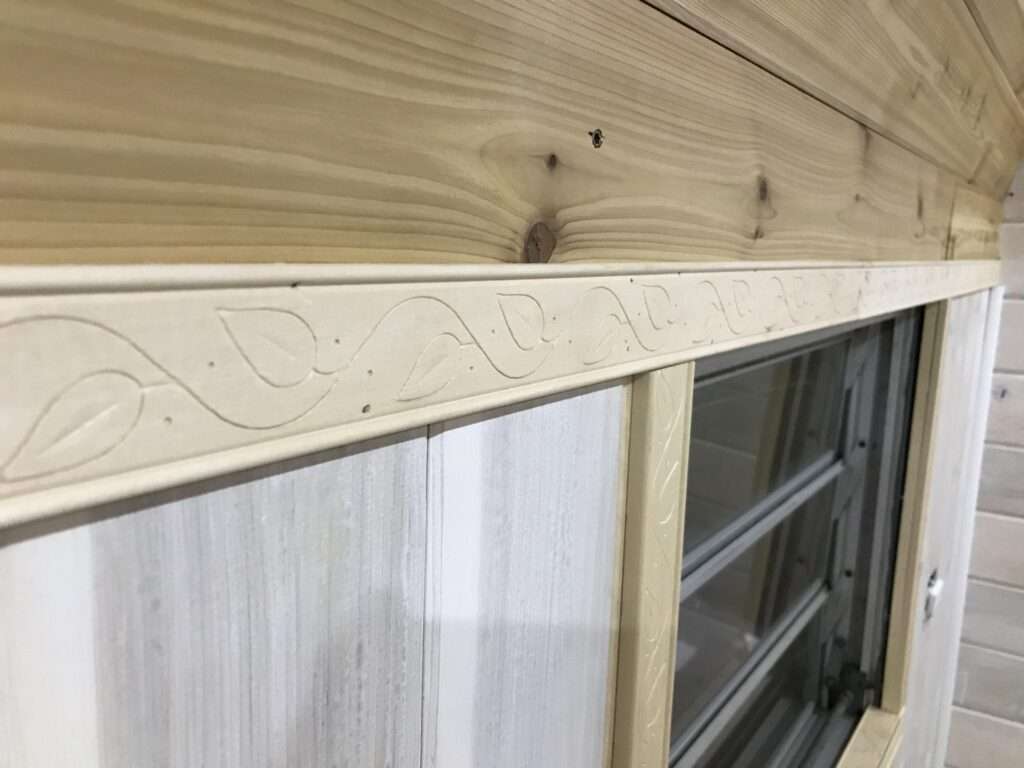
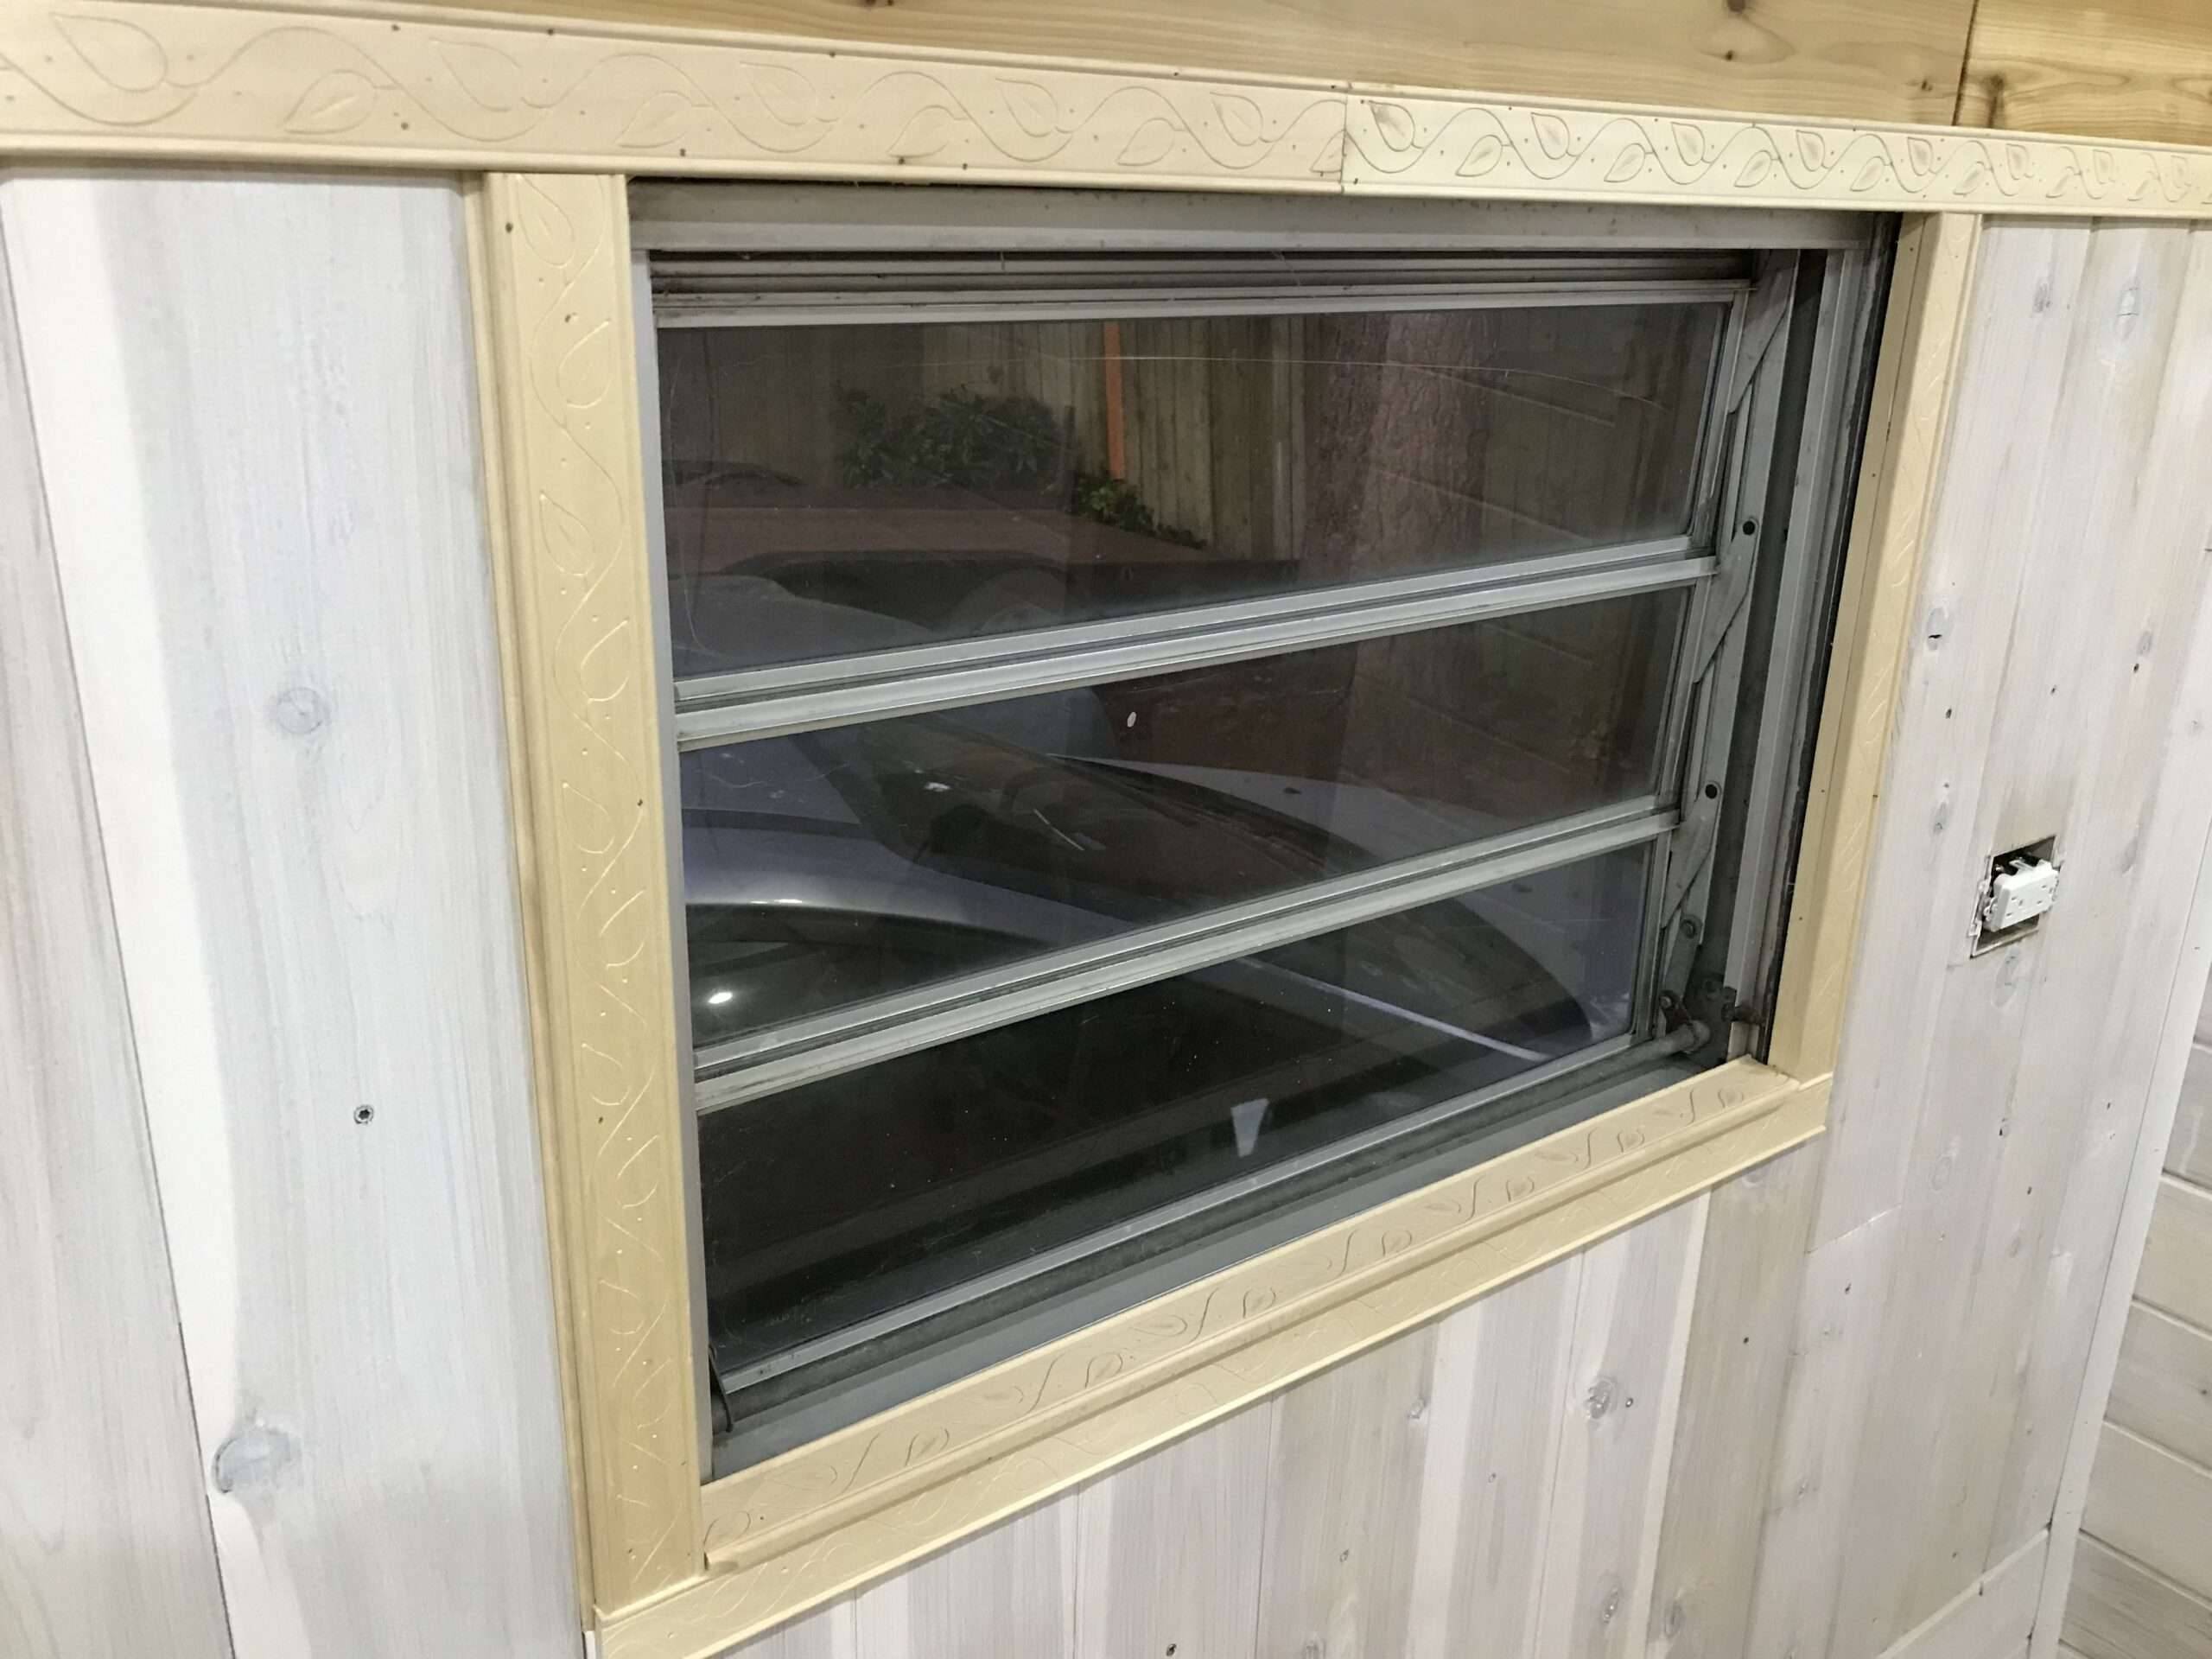
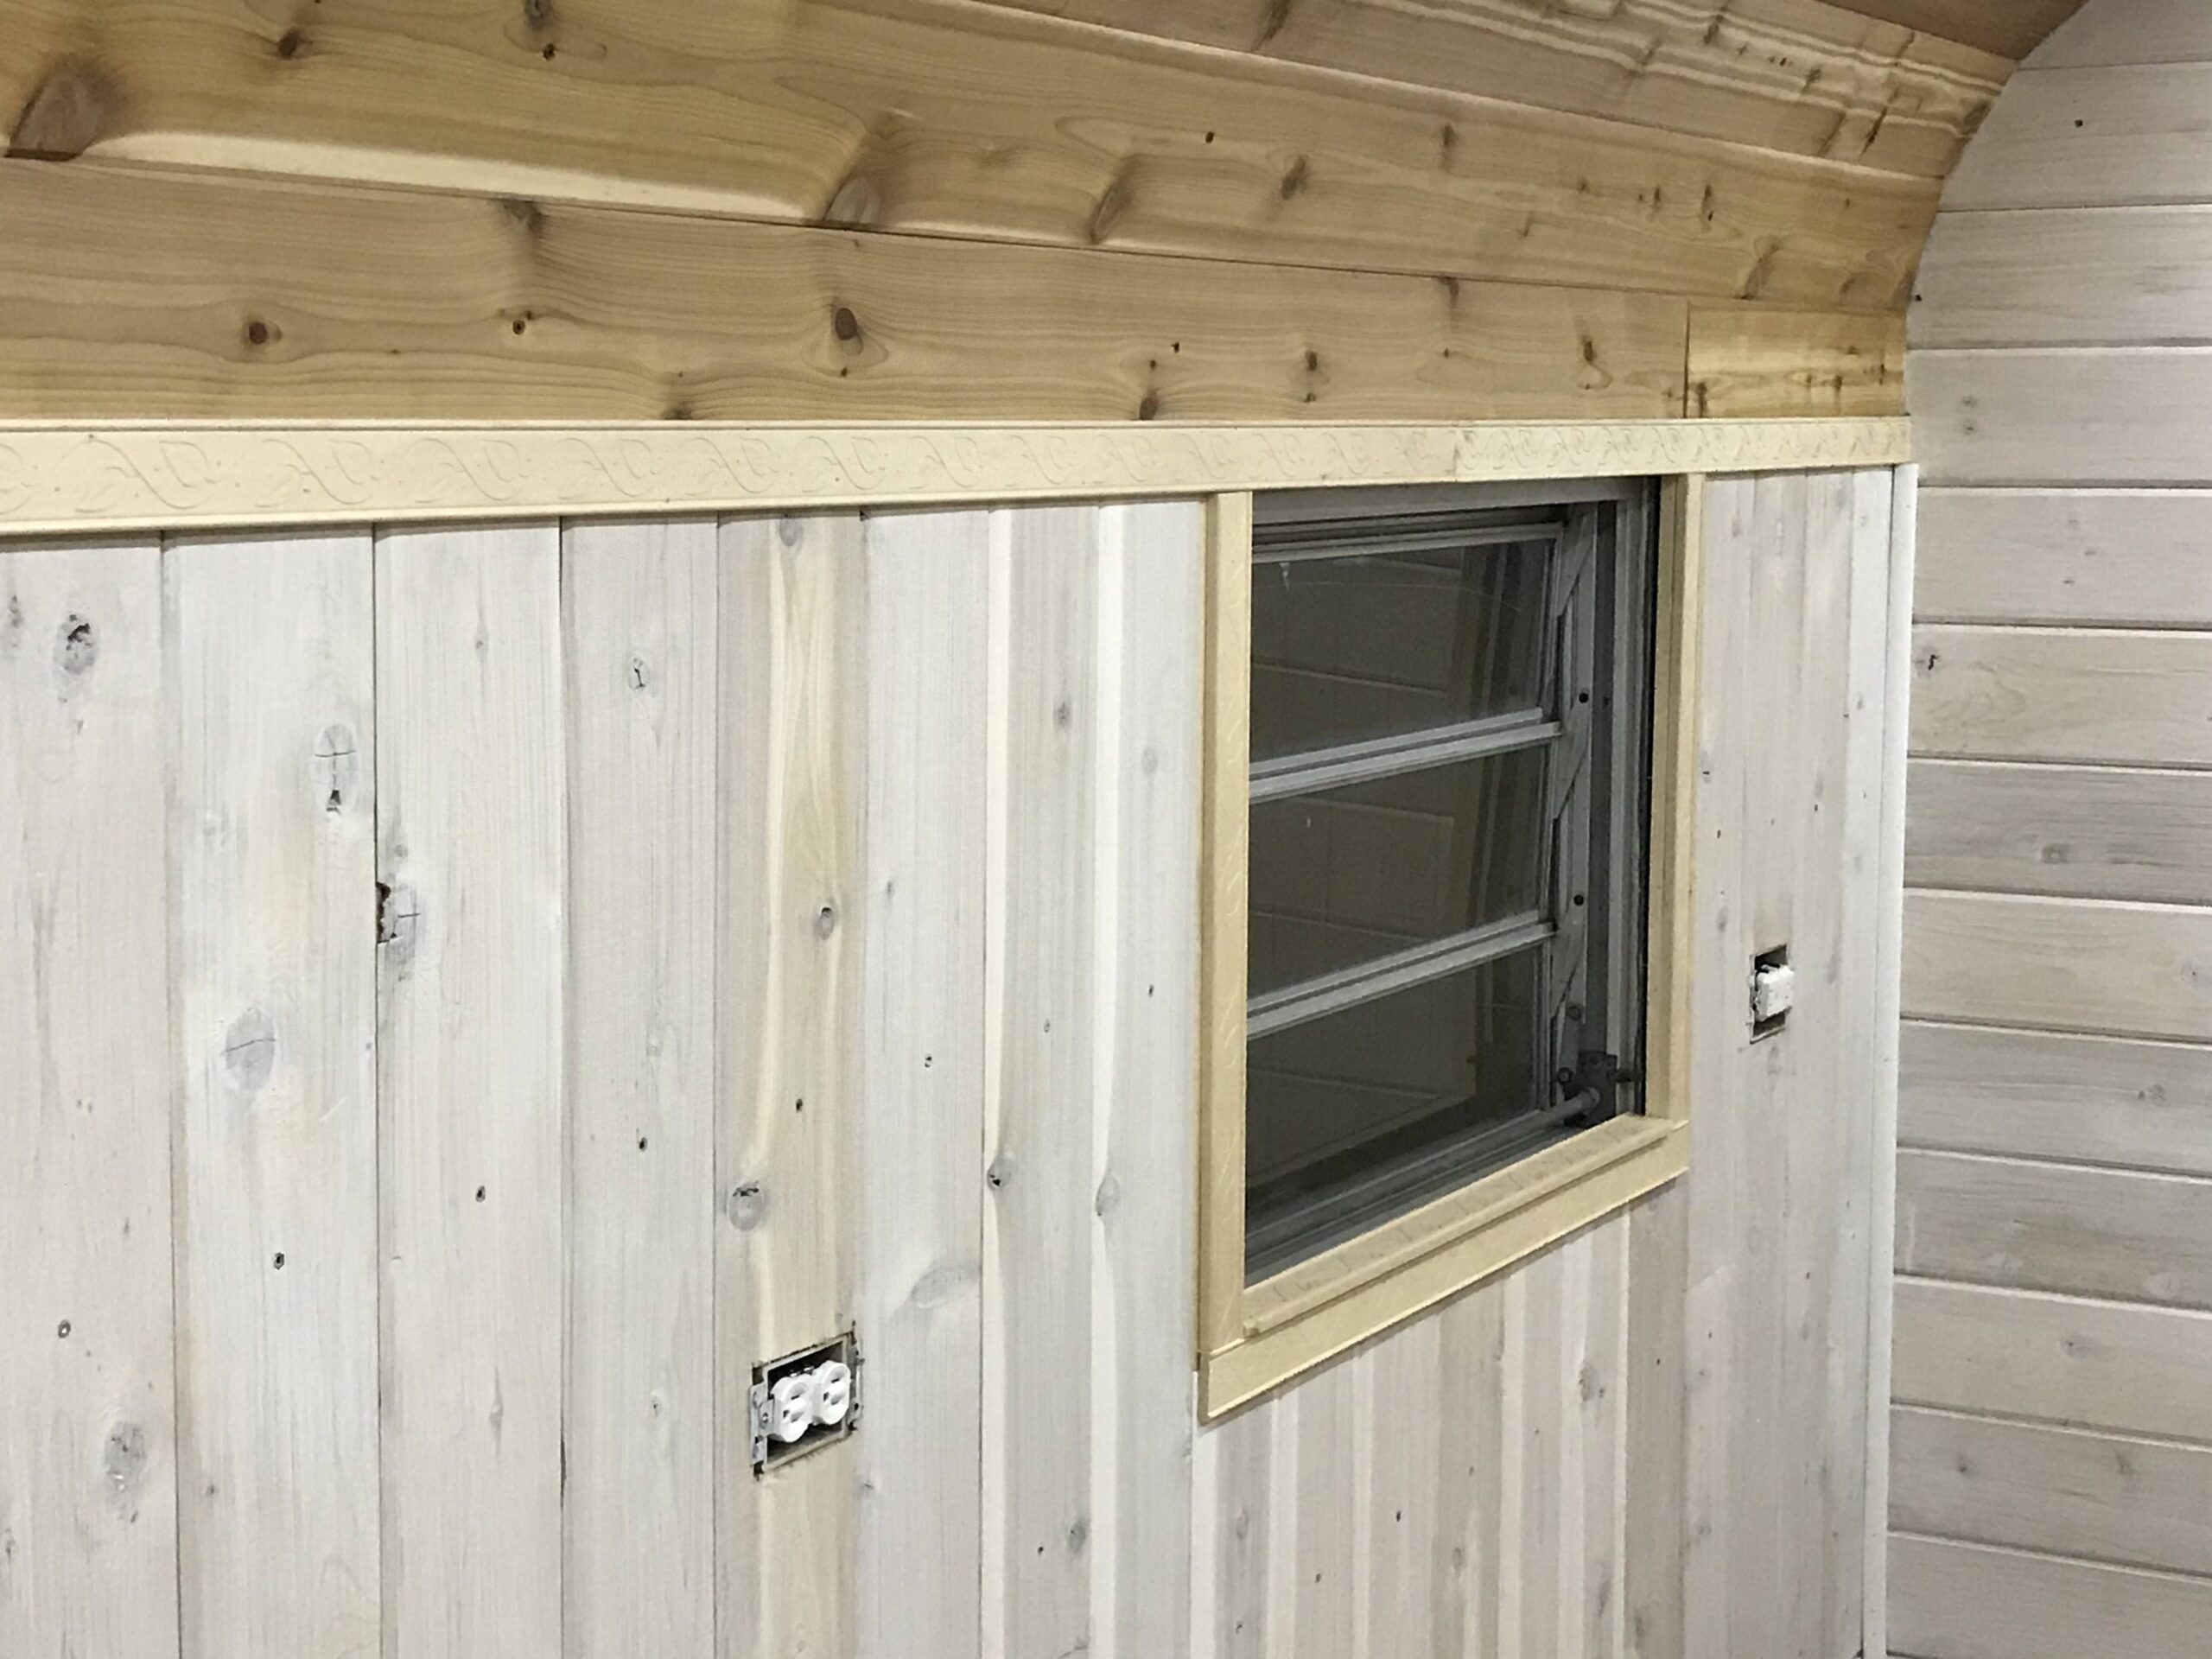
Then we placed a beautiful trim around the windows and separating the walls from the ceiling.
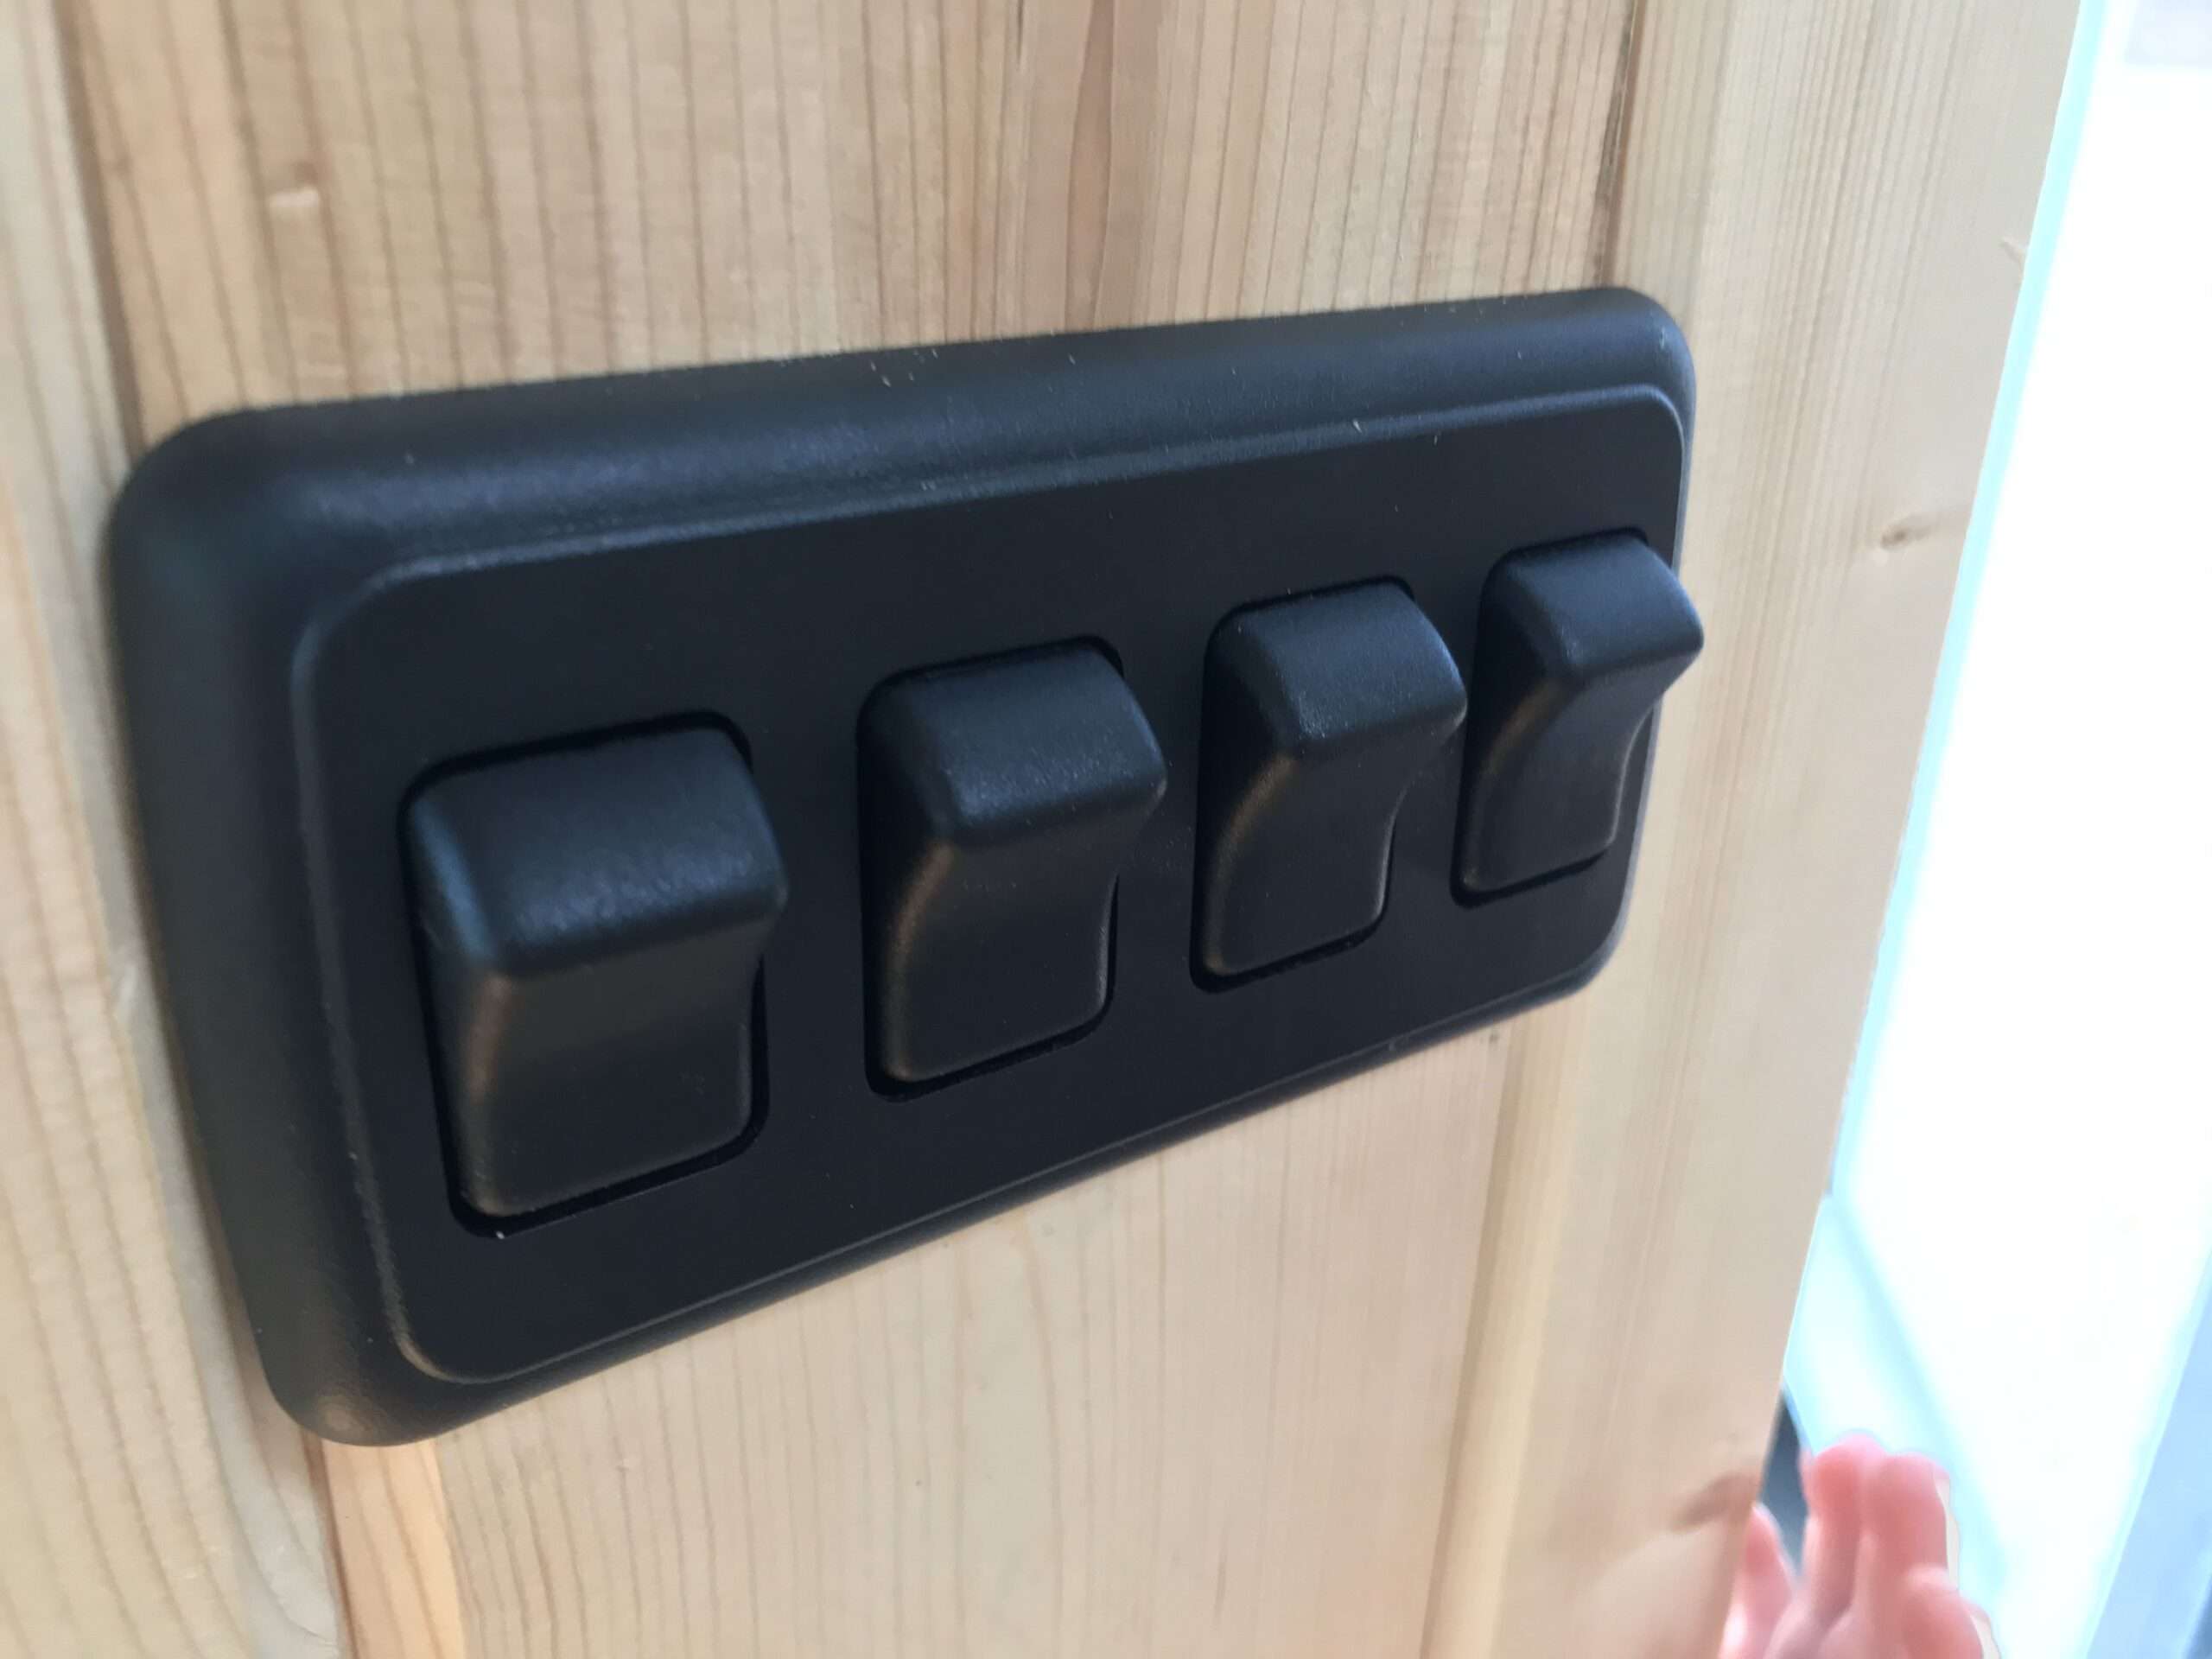
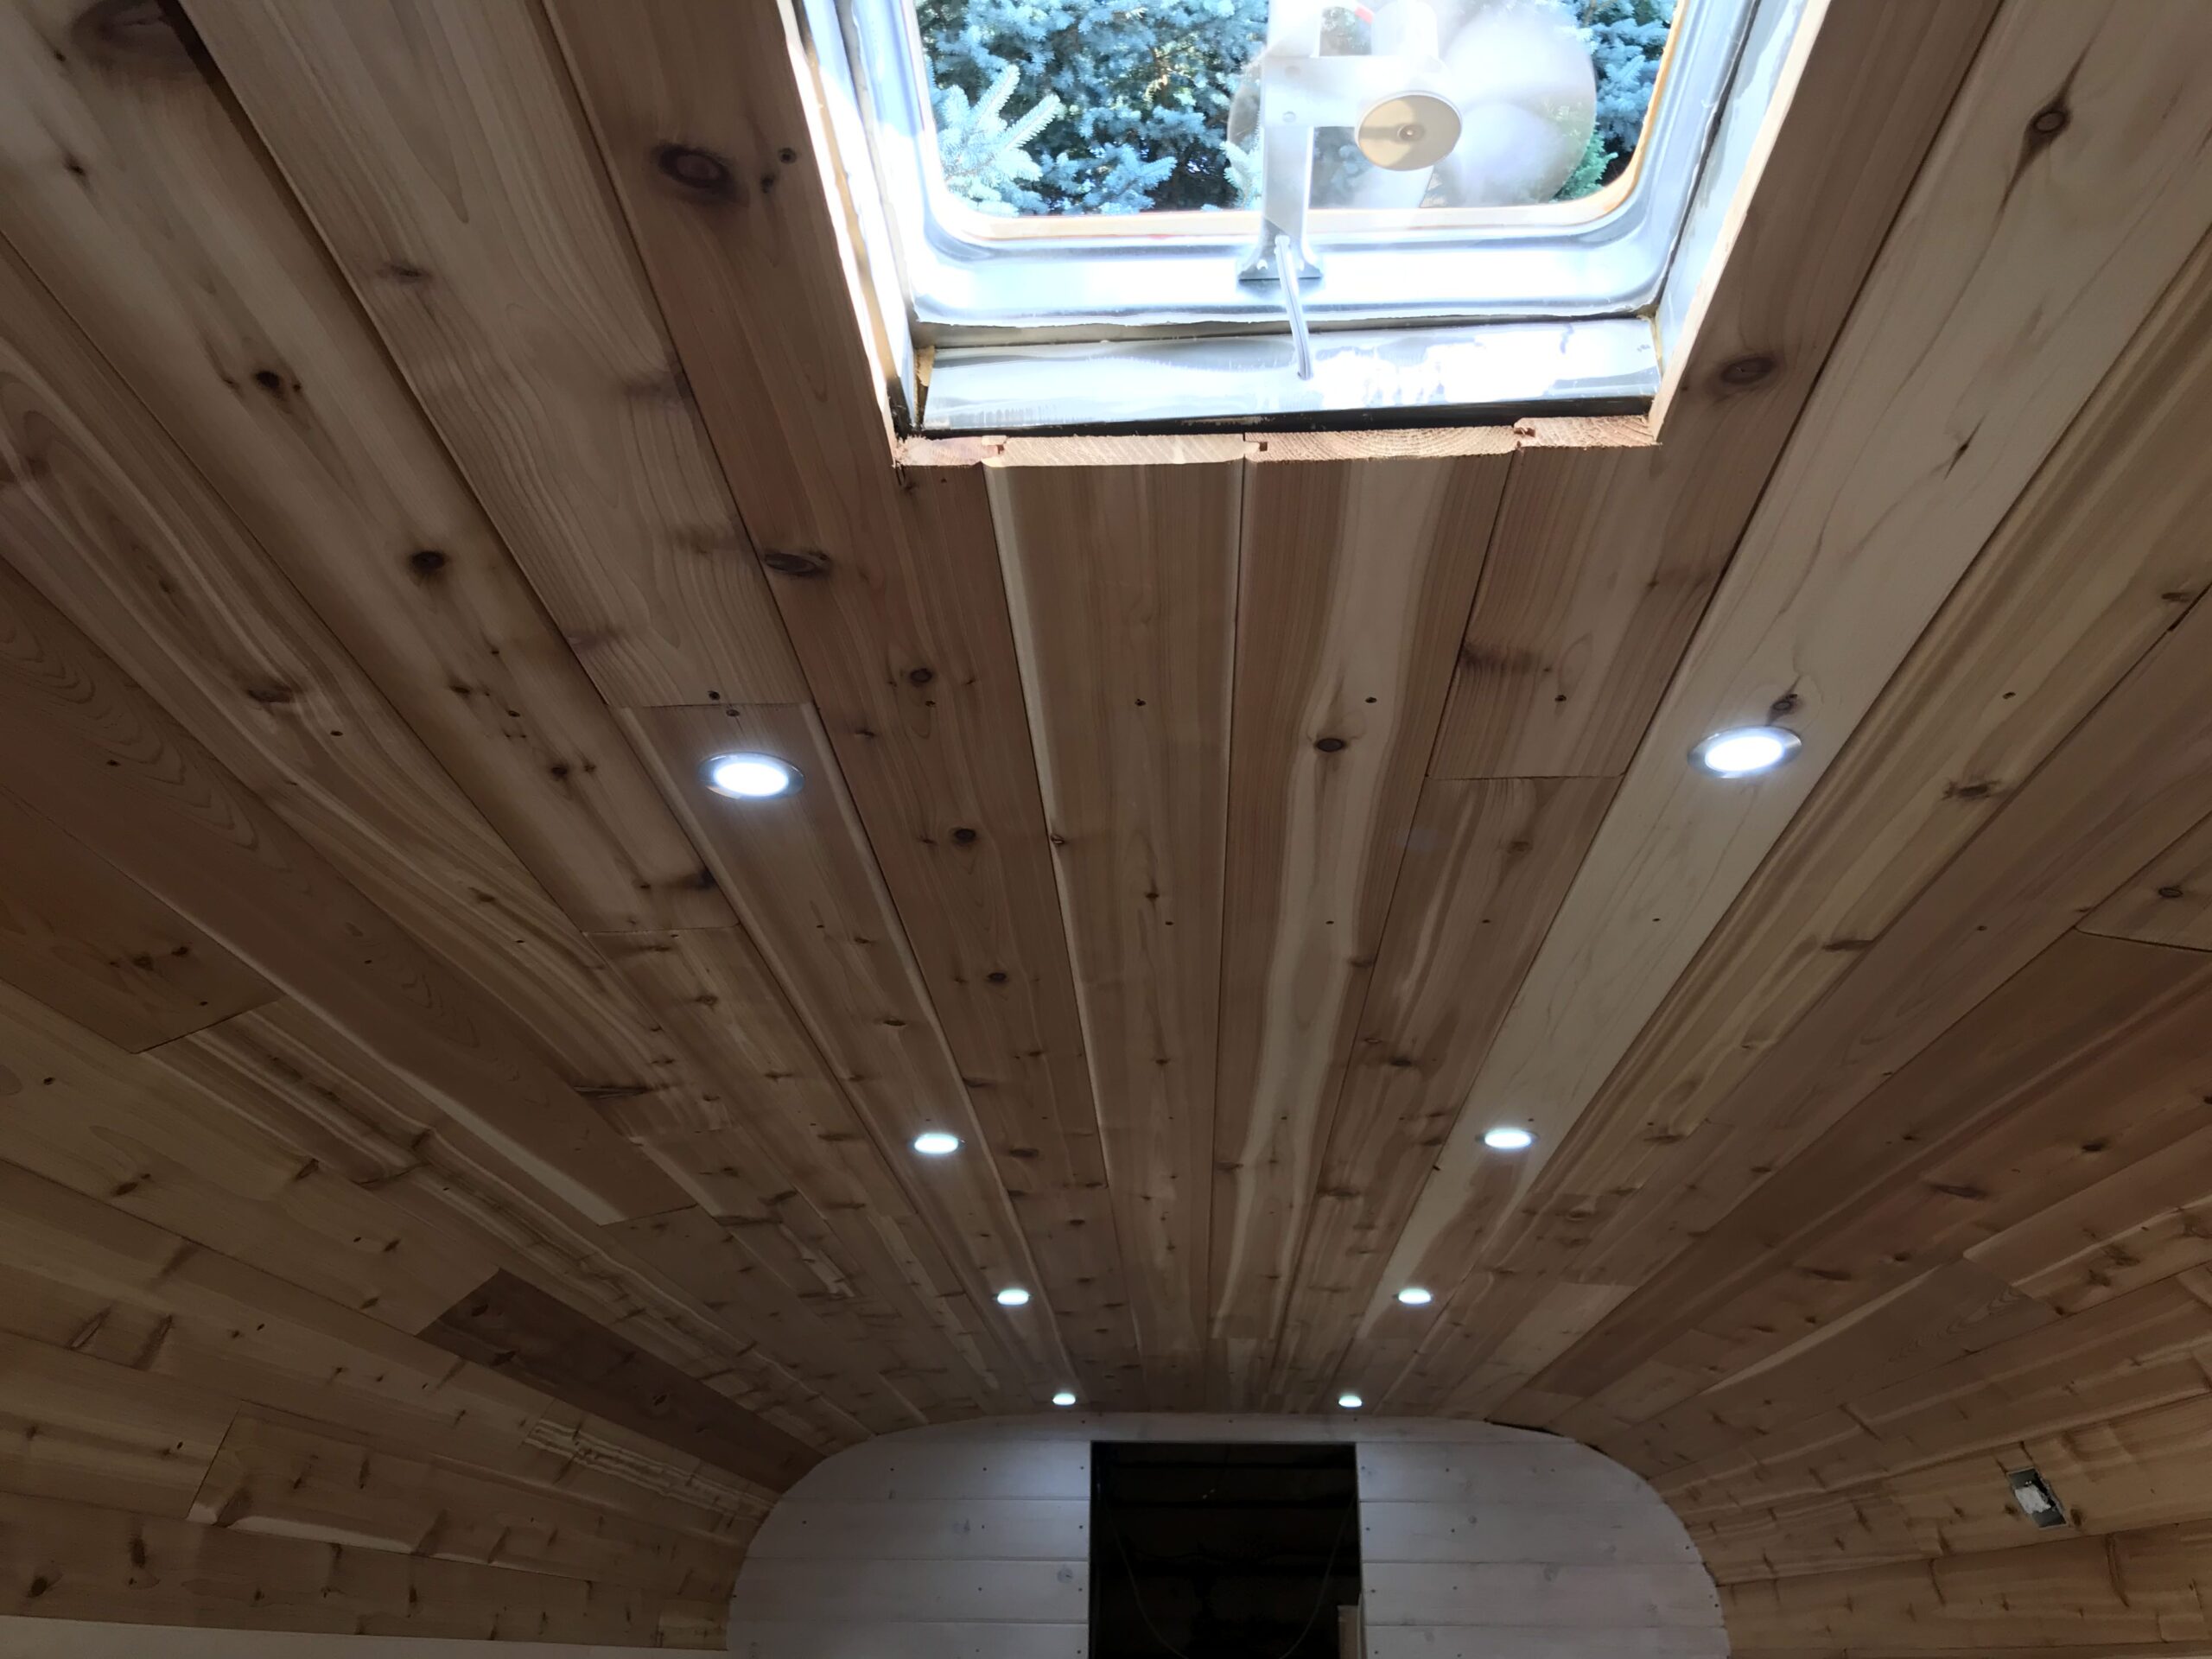
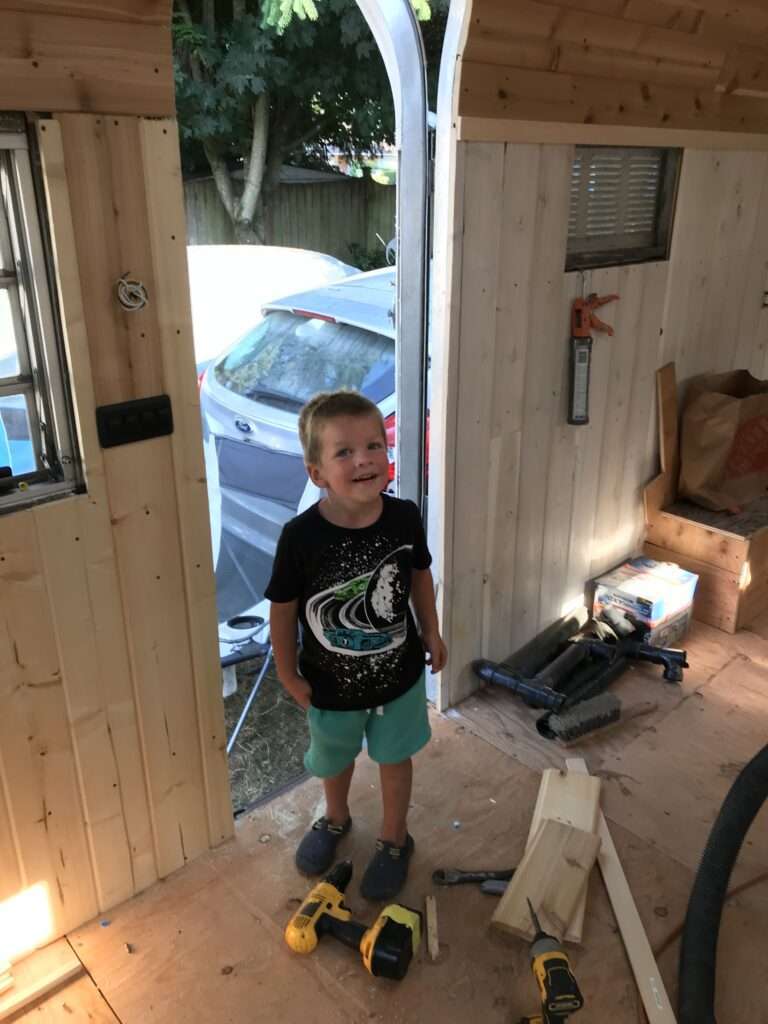
We got our switches set up and working. Now we can turn the lights and the fan on and off. Kids were super exciting switching them on and off. Look at his face 🙂
Follow us on IG to see our streamline journey.
1972 Streamline Trailer Renovation Part 2
1972 Streamline Trailer Renovation Part 1





Leave a Reply