

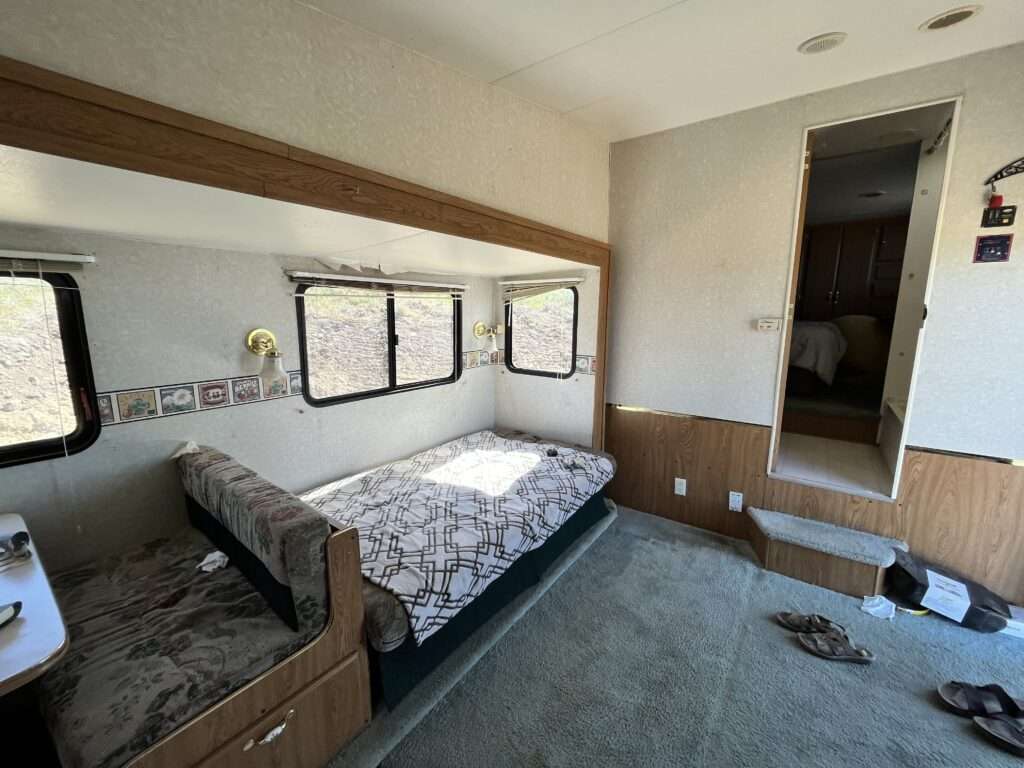
Renovating your RV slide-out trim can be a rewarding DIY project, it will change the whole picture, the look and the feel. Remember small details go a long way in a RV renovation. Today I want to share every step of the process how we made our new RV slide out trim.
Similar posts you may like:
- How to DIY Two Toned Paint in an Older RV
- How to Remove Wallpaper Borders in Older RVs
- 1972 Streamline Vintage Travel Trailer Renovation Part 8
This post may contain affiliate or sponsored content.
Materials You’ll Need:
- Pry bar
- Sandpaper (medium and fine grit)
- Orbital sander
- Stain of your choice (I used espresso and red oak)
- Torch (optional)
- Measuring tape
- Polyurethane clear finish
- Dewalt Circular Saw
- Dewalt Finish Nailer
- Liquid Nails
- Liquid nail gun
- Compressor
Step-by-Step Guide:
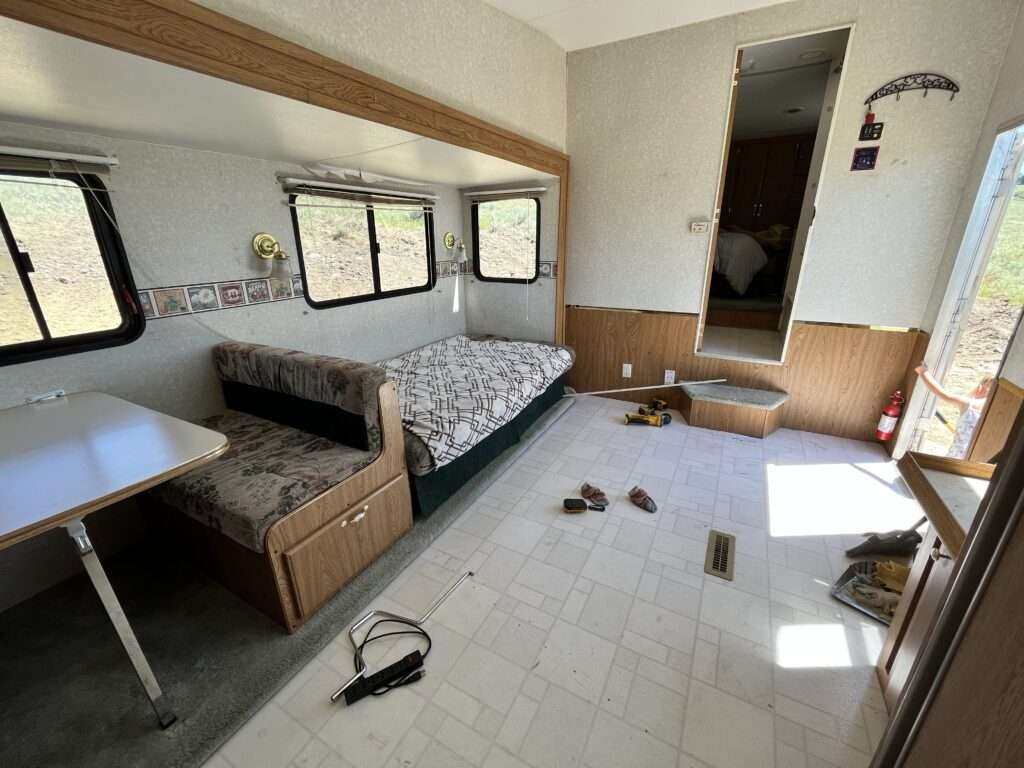
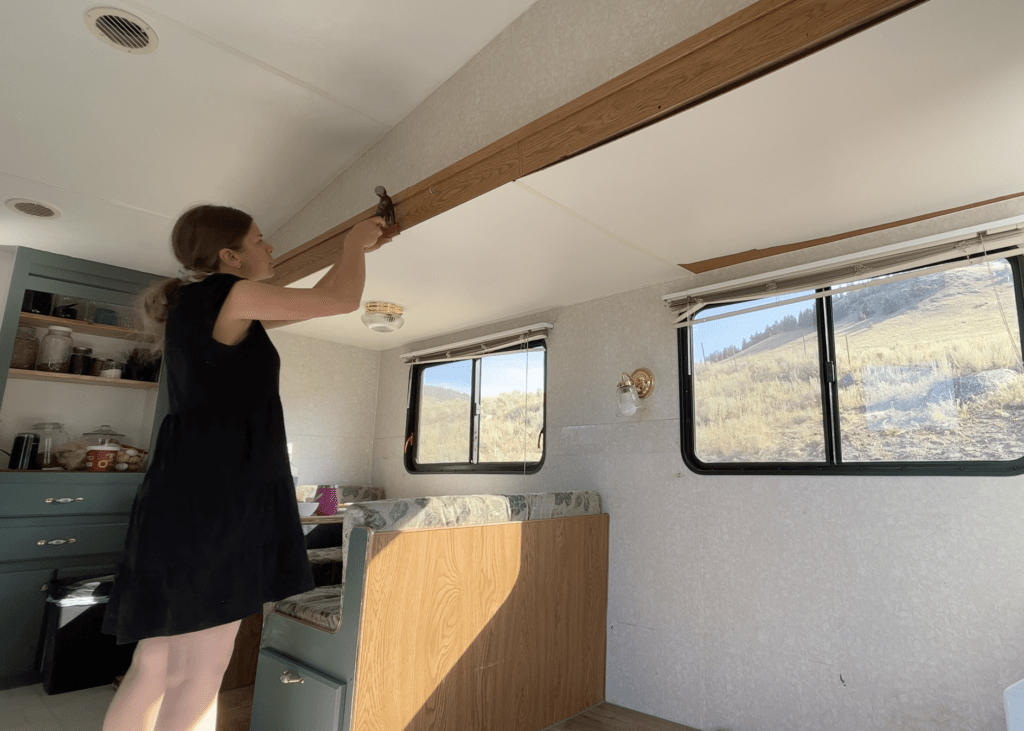
1. Remove the Old Trim: Using a pry bar carefully remove the existing trim from the RV slide-out. Take your time to avoid damaging the surrounding walls or structures. If there are any screws or nails holding the trim in place, make sure to remove them as well. In my situation I only removed the edges of the trim.
2. Choose Your Trim Material: Decide whether you want to replace the trim with the same type of material or if you’d like to upgrade to a different style. Options include wood, composite materials, or even decorative molding for an elegant touch. I used pine because it not too heavy but still looks great, plus we had some on hand that we get from a local resource for cents.
3. Measure and Cut: Measure the dimensions of the slide-out area where the new trim will be installed. Carefully cut the new trim pieces to fit using a circular saw. If the trim is really long, you might have to put two boards.
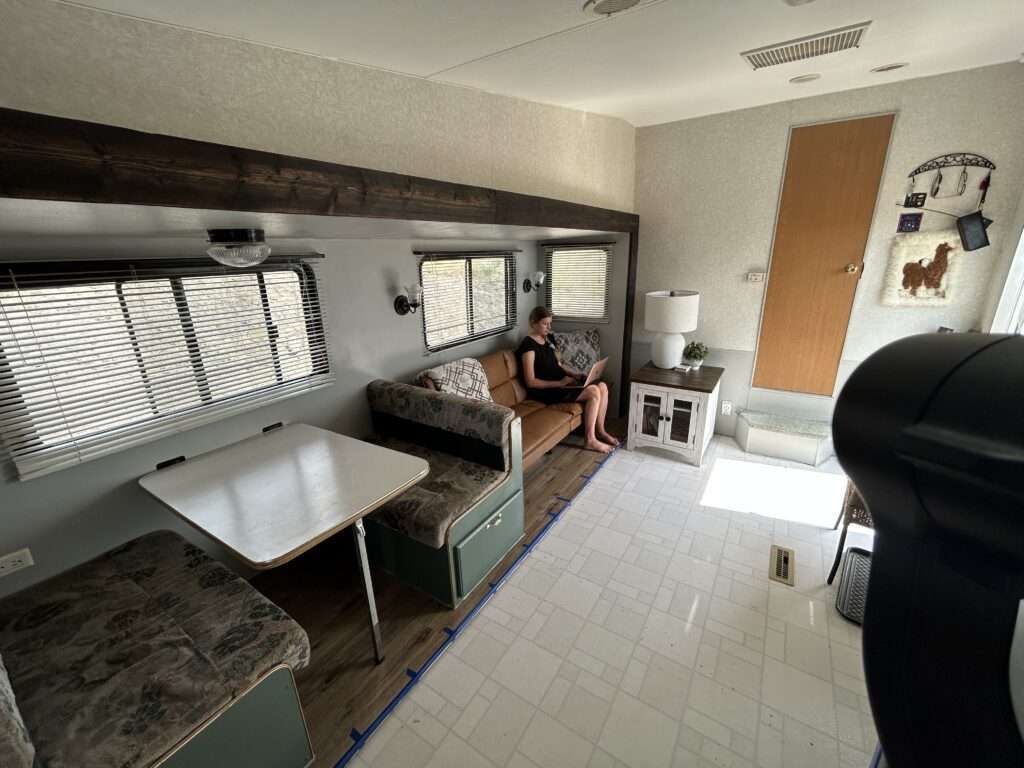
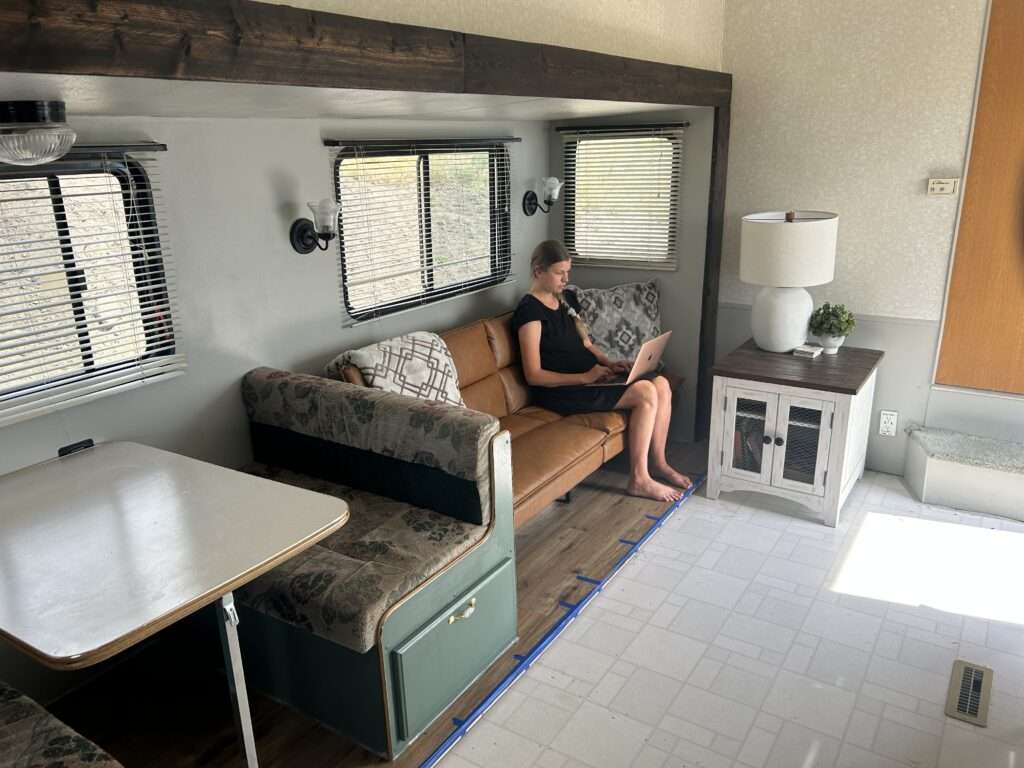
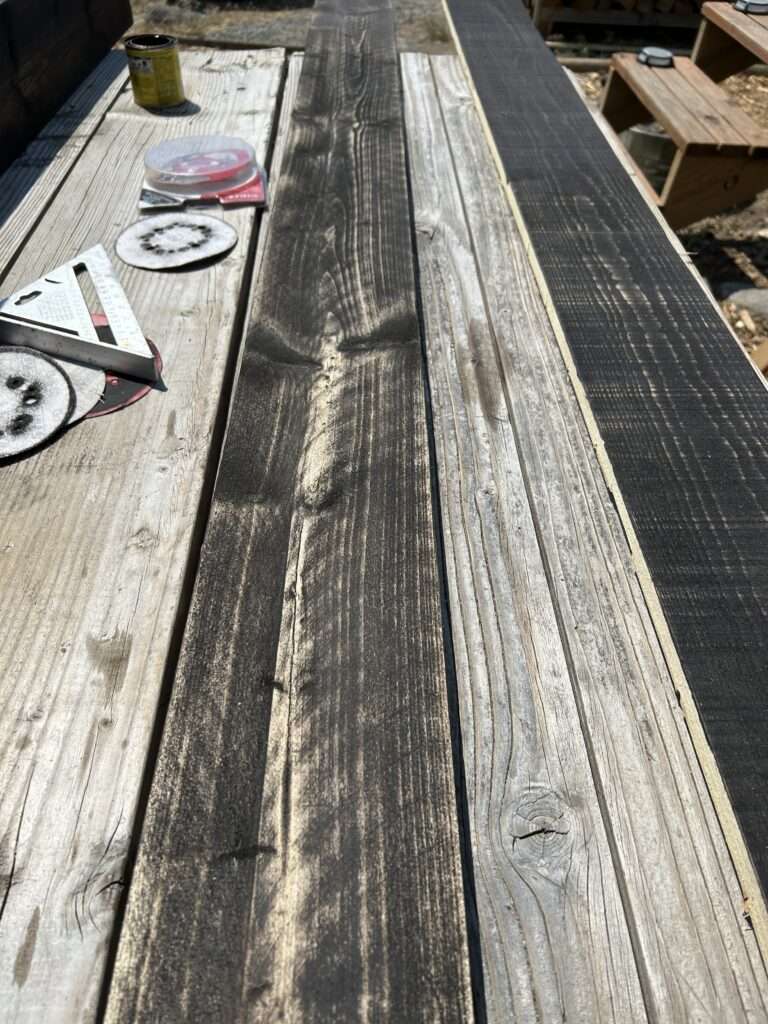
4. Sand and Finish: Before attaching the new trim, sand the edges and surfaces of the cut pieces to ensure a smooth finish. If you plan stain the trim, this step is crucial for achieving a professional look. I wanted to imitate a burnt wood look so I stained it with espresso stain. Once it dried I sanded one more time. You can now clear it or I decided to add red oak on the white sanded areas on the board. I love how it turned out with the espresso and red oak stain.
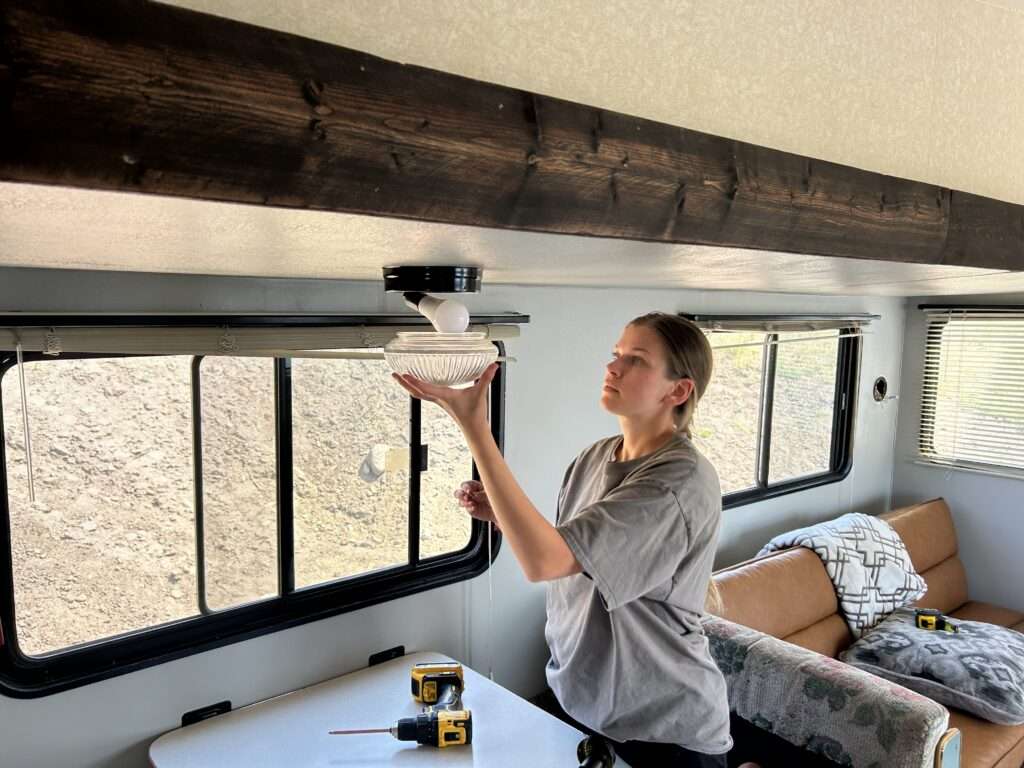
5. Attach the New Trim: Place some liquid nails on the trim board and using a finish nailer, attach the new trim to the slide-out area. Make sure the trim is level and secure. If you’re working with multiple pieces, ensure they align properly for a seamless appearance.
6. Clear the New Trim: Using the polyurethane clear coat (you can choose semi gloss for more of a gloss or satin for a medium to low gloss) apply 2-3 coats on the new trim.
Conclusion:
Renovating the trim of your RV slide-out can breathe new life into your living space and provide a sense of accomplishment. With careful planning, precise measurements, and attention to detail, you can achieve a stunning transformation that will make your RV feel like a comfortable and stylish home away from home.


Leave a Reply